
Android Jetpack aims to make life easier by providing devs with several tools that help speed up development while encouraging best practices. The tools we're going to be focusing on today are the Navigation component and passing data with Safe Args.
Safe Args is a Gradle plugin that gives us type safety when navigating and passing data between destinations.
We will be exploring these concepts by creating a simple app that displays a list of users in a fragment that contains a RecyclerView and passing the selected User to our UserDetailsFragment.
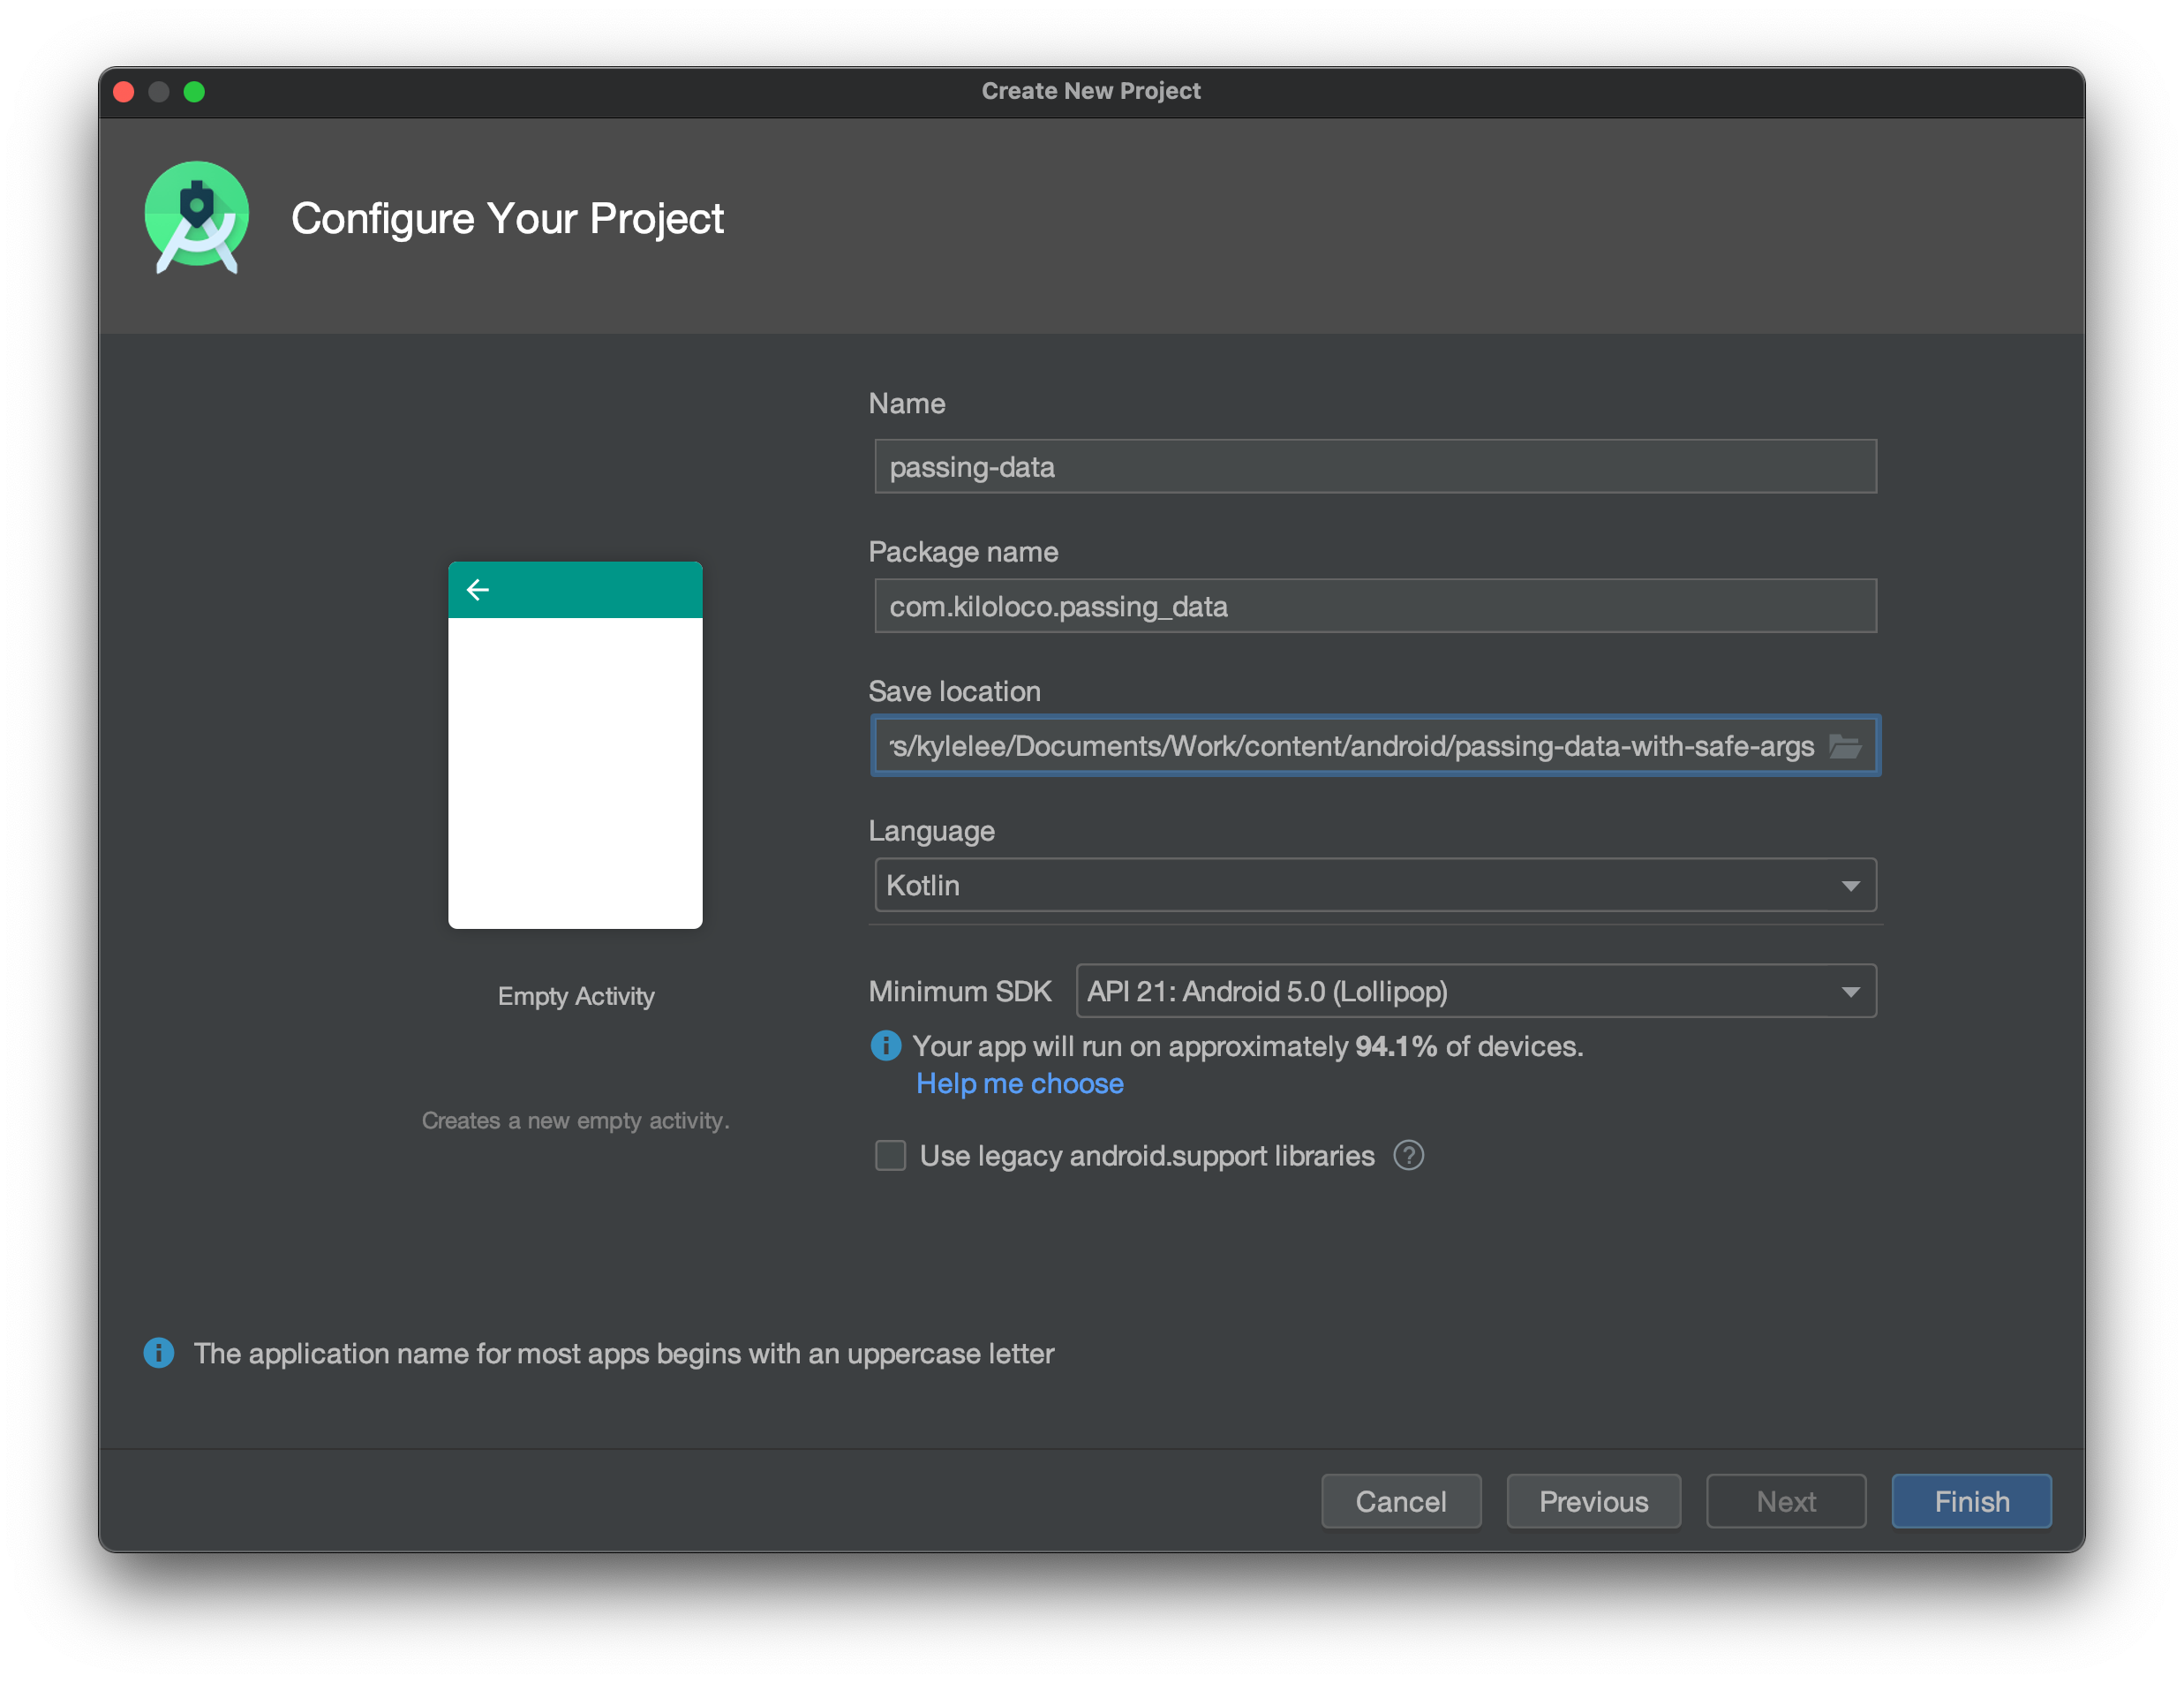
We'll start from scratch with a new AndroidX project with an Empty Activity.
Let's start off by setting up our dependencies.
In your project build.gradle file, add the following:
... // dependencies {

def nav_version = "2.3.0"
classpath "androidx.navigation:navigation-safe-args-gradle-plugin:$nav_version"

... // dependencies closing }
In the module build.gradle file, we will need all of the following:
... // other plugins

apply plugin: "androidx.navigation.safeargs"

... // android {
This plugin will generate our NavArgs and NavDirections for us.
... // android {

compileOptions {
    sourceCompatibility JavaVersion.VERSION_1_8
    targetCompatibility JavaVersion.VERSION_1_8
}

kotlinOptions {
    jvmTarget = "1.8"
}

... // android closing }
Java 8 is a minimum requirement to work with safe args.
... // depedencies {

def nav_version = "2.3.0"
implementation "androidx.navigation:navigation-fragment-ktx:$nav_version"
implementation "androidx.navigation:navigation-ui-ktx:$nav_version"
implementation "androidx.navigation:navigation-dynamic-features-fragment:$nav_version"

... // dependencies closing }
We will keep our Android Jetpack Navigation depedency versions in sync by using a single variable for all three dependencies.
We should be able to build our project, get all of our dependencies into the project, and get to the juicy stuff now 🥩
Our app needs to show a list of users, then be able to open the details screen for the selected user. Let's make two fragments that represent both of those screens.
We'll start by creating the User object that we will be working with. (Right click project folder > New > Kotlin File/Class > Class)
import android.os.Parcelable
import kotlinx.android.parcel.Parcelize

@Parcelize
data class User(val id: Int, val name: String, val age: Int): Parcelable {
    val description: String
        get() = "$name is $age years old."
}
We are keeping our object very simple here by only giving a few properties like id, name, and age. We are also making it Parcelable so we can pass it between fragments.
Let's go ahead and add the fragment that will be responsible for showing our users (Right click project folder > New > Fragment > Fragment (List))
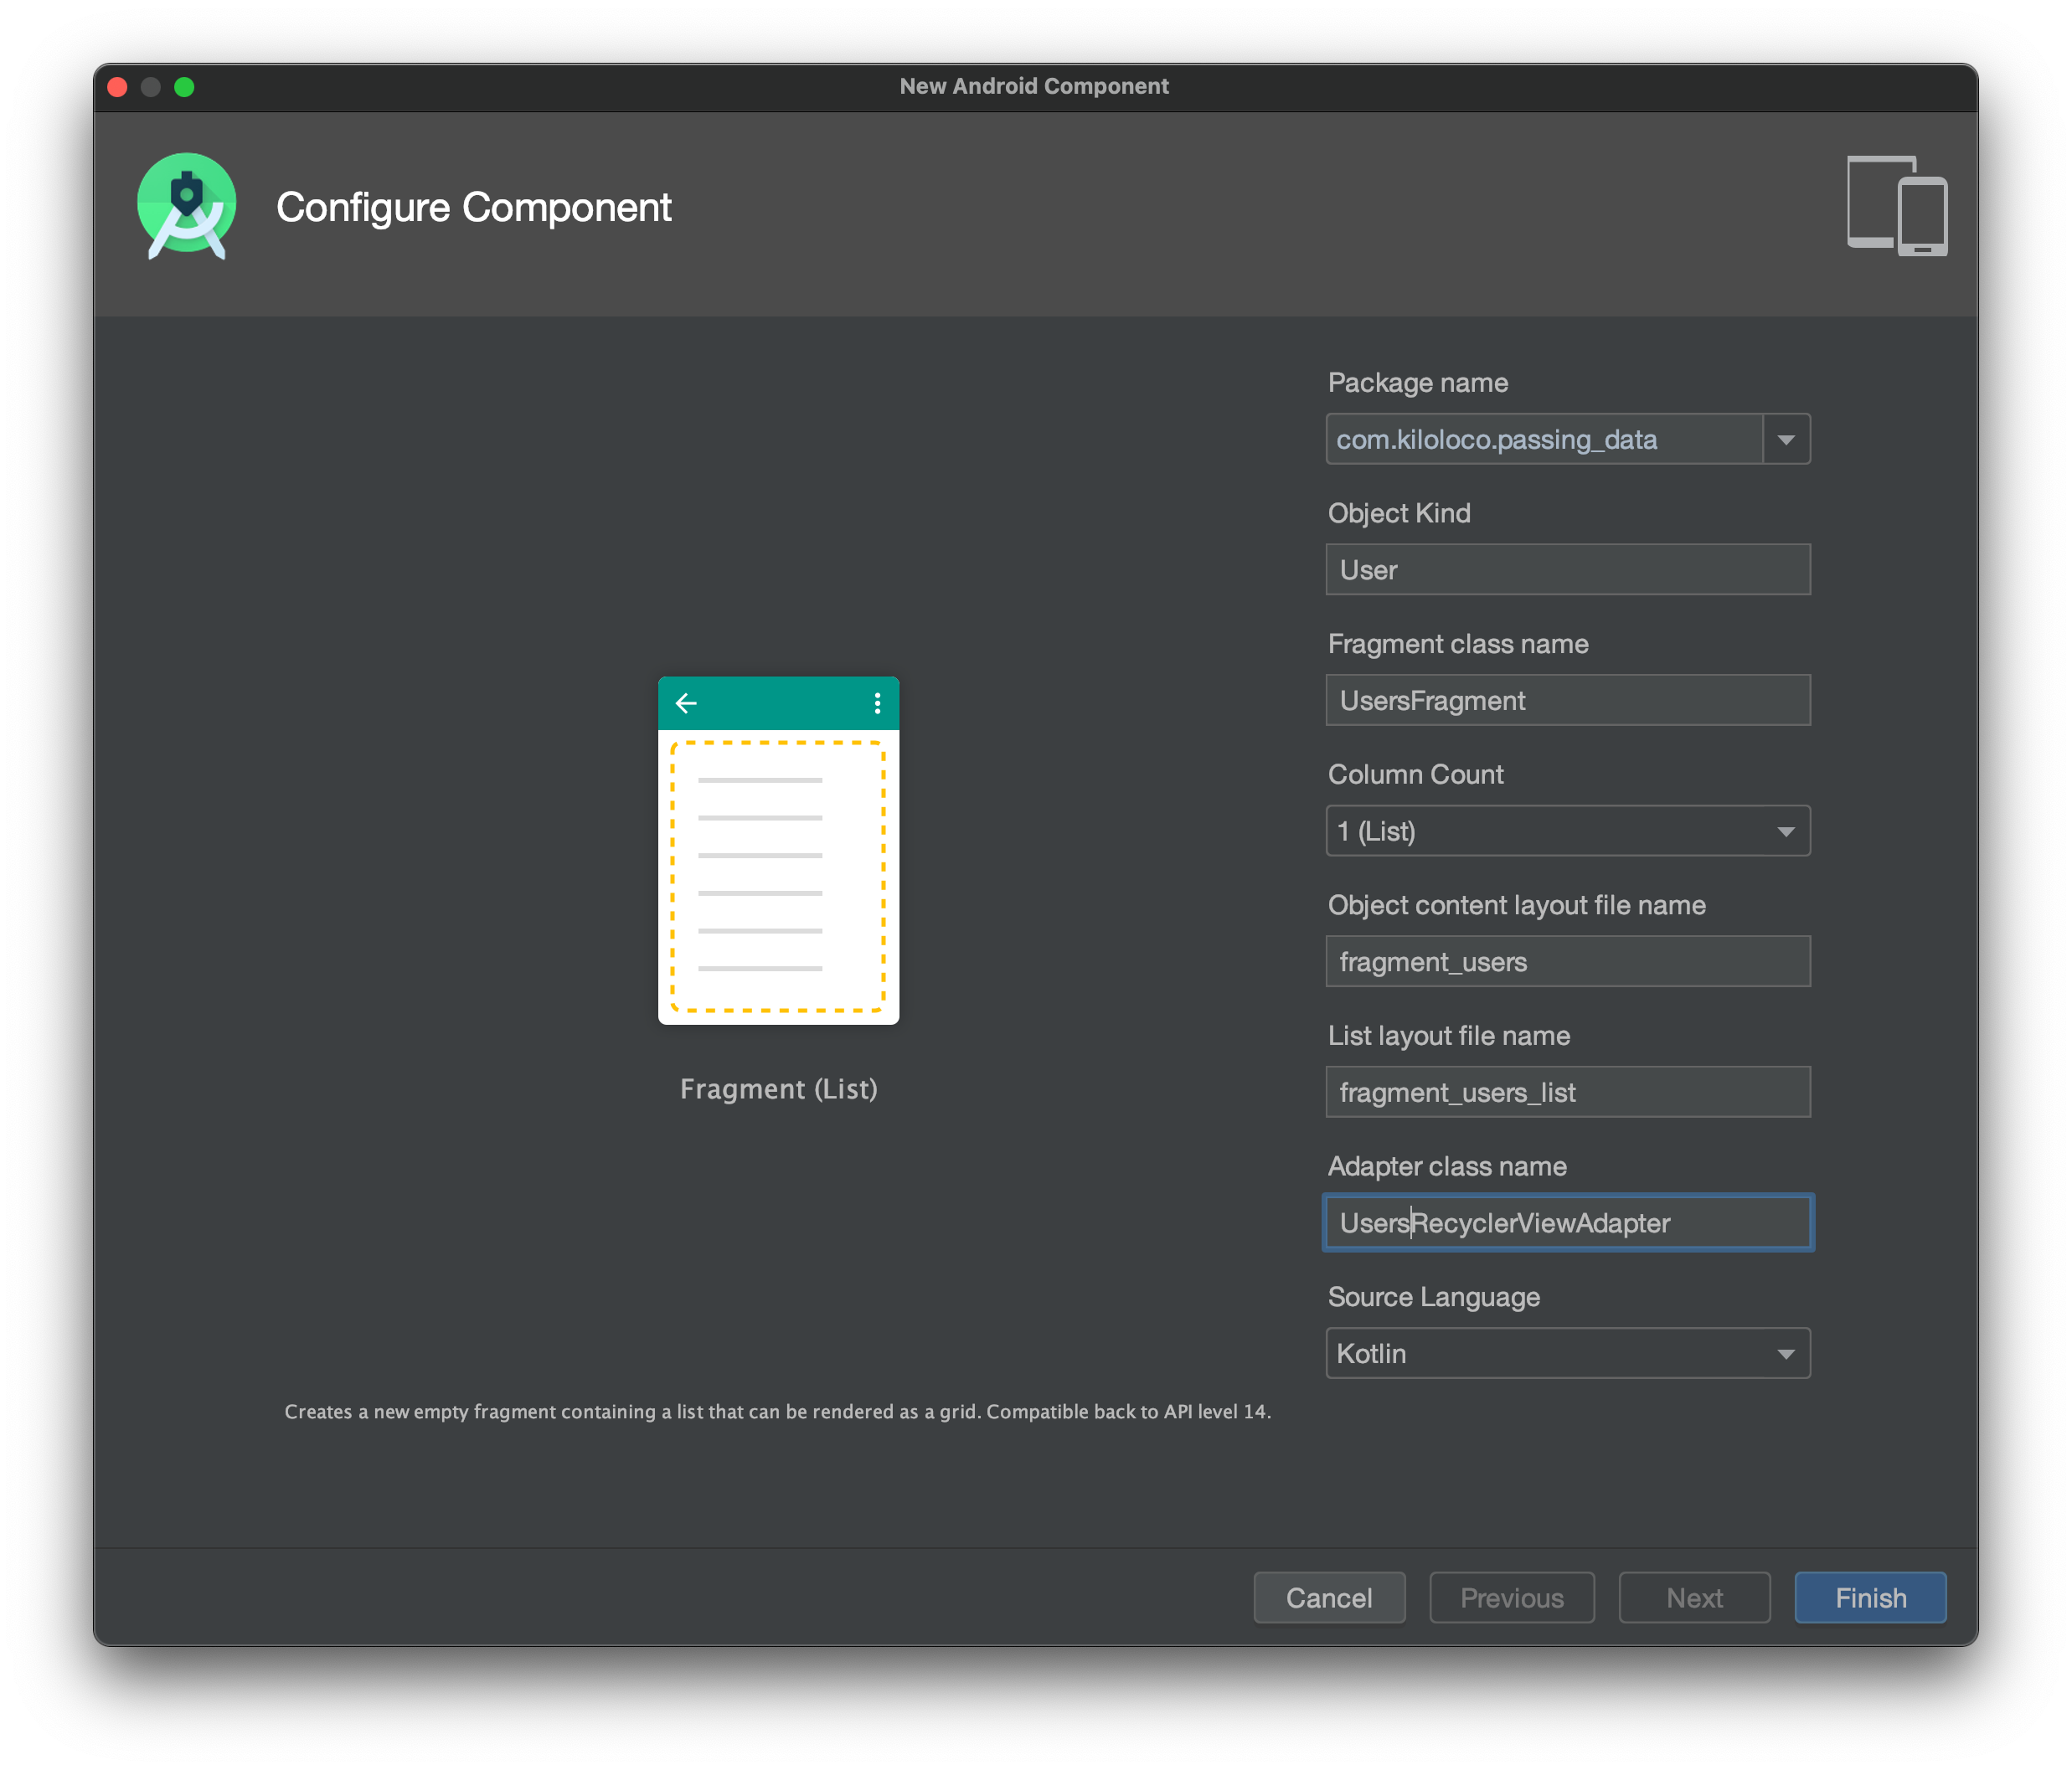
I'll configure the component with names that make sense for my project, in this case the names/objects will revolve around our User object.
Going through this process will generate a lot of the boilerplate code for us. We should now have the following files in our project: UsersFragment, UsersRecyclerViewAdapter, fragment_users.xml, and fragment_users_list.xml.
We can get rid of a lot of the unnecessary code in our UsersFragment and use our own dummy data by replacing it with this:
class UsersFragment : Fragment() {

    private val users = listOf<User>(
        User(1, "Kyle", 29),
        User(2, "Adri", 36),
        User(3, "Andy", 14),
        User(4, "Xayxay", 3),
        User(5, "Mya", 1)
    )

    override fun onCreateView(
        inflater: LayoutInflater, container: ViewGroup?,
        savedInstanceState: Bundle?
    ): View? {
        val view = inflater.inflate(R.layout.fragment_users_list, container, false)

        if (view is RecyclerView) {
            with(view) {
                layoutManager = LinearLayoutManager(context)
                adapter = UsersRecyclerViewAdapter(users)
            }
        }
        return view
    }
}
Since UsersRecyclerViewAdapter is expecting the dummy object that was autogenerated, we will get an error for trying to pass in a list of User objects. Let's fix that.
class UsersRecyclerViewAdapter(
    private val users: List<User>
) : RecyclerView.Adapter<UsersRecyclerViewAdapter.ViewHolder>() {

    override fun onCreateViewHolder(parent: ViewGroup, viewType: Int): ViewHolder {
        val view = LayoutInflater.from(parent.context)
            .inflate(R.layout.fragment_users, parent, false)
        return ViewHolder(view)
    }

    override fun onBindViewHolder(holder: ViewHolder, position: Int) {
        val user = users[position]
        holder.idView.text = user.id.toString()
        holder.contentView.text = user.name
    }

    override fun getItemCount(): Int = users.size

    inner class ViewHolder(view: View) : RecyclerView.ViewHolder(view) {
        val idView: TextView = view.findViewById(R.id.item_number)
        val contentView: TextView = view.findViewById(R.id.content)

        override fun toString(): String {
            return super.toString() + " '" + contentView.text + "'"
        }
    }
}
The only changes here were changing the values property to users and the type to User as well. We also made sure the we are binding relevant data to the ViewHolder in the onBindViewHolder method.
Now that our UsersFragment is properly configured, let's setup a new UserDetailsFragment (Right click project folder > New > Fragment > Fragment (Blank))
class UserDetailsFragment : Fragment() {

    override fun onCreateView(
        inflater: LayoutInflater, container: ViewGroup?,
        savedInstanceState: Bundle?
    ): View? {
        val view = inflater.inflate(R.layout.fragment_user_details, container, false)

        return view
    }
}
We'll also update our fragment_user_details.xml to have the pre-generated TextView to be in the center of the screen.
<?xml version="1.0" encoding="utf-8"?>
<androidx.constraintlayout.widget.ConstraintLayout xmlns:android="http://schemas.android.com/apk/res/android"
    xmlns:app="http://schemas.android.com/apk/res-auto"
    xmlns:tools="http://schemas.android.com/tools"
    android:layout_width="match_parent"
    android:layout_height="match_parent"
    tools:context=".UserDetailsFragment">

    <TextView
        android:id="@+id/textView"
        android:layout_width="wrap_content"
        android:layout_height="wrap_content"
        android:text="@string/hello_blank_fragment"
        app:layout_constraintBottom_toBottomOf="parent"
        app:layout_constraintEnd_toEndOf="parent"
        app:layout_constraintStart_toStartOf="parent"
        app:layout_constraintTop_toTopOf="parent" />

</androidx.constraintlayout.widget.ConstraintLayout>
Now we have both fragments laid out, we are ready to use them in a navigation graph.
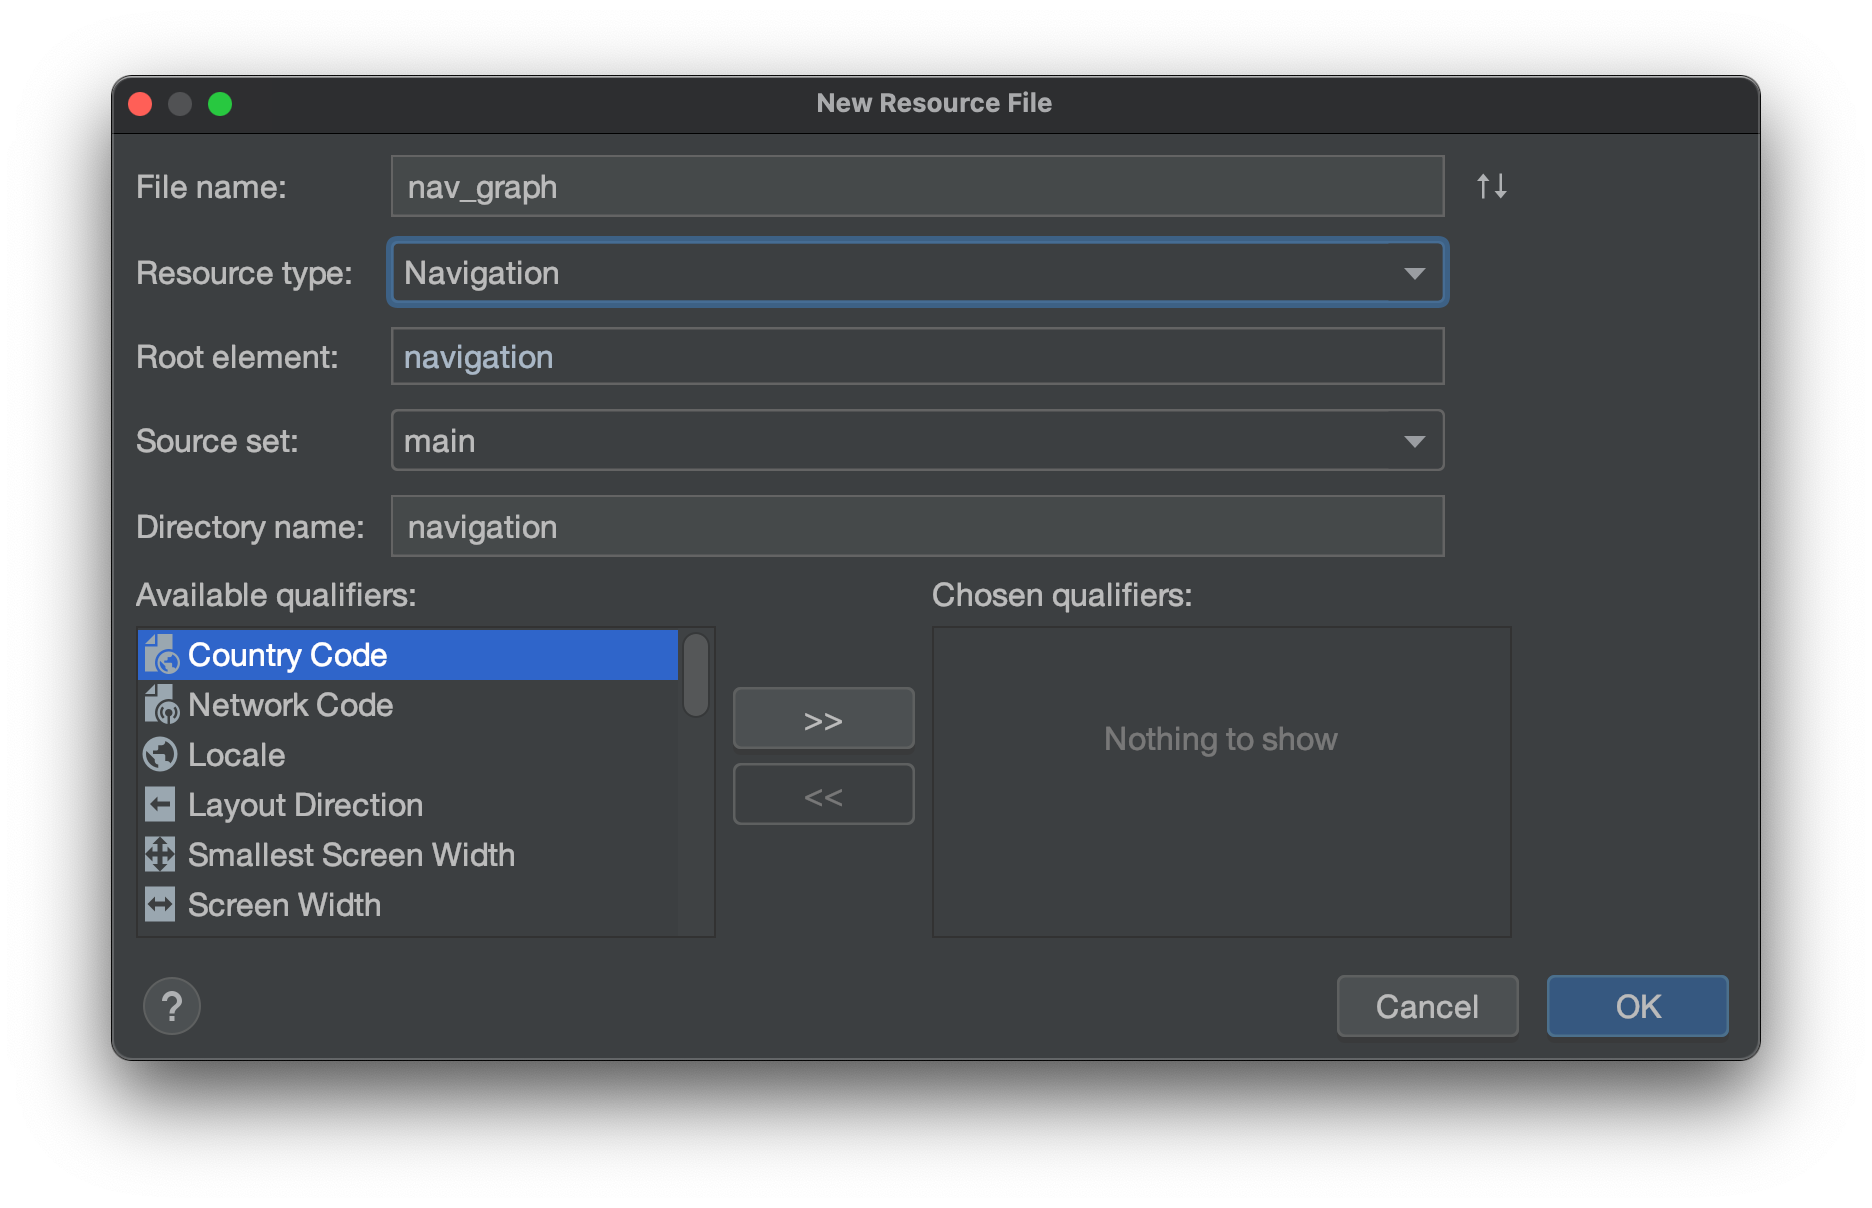
Create a new resource (Right click res folder > New > Android Resource File), and create a new Navigation resource called nav_graph
Our Editor should now look like this:
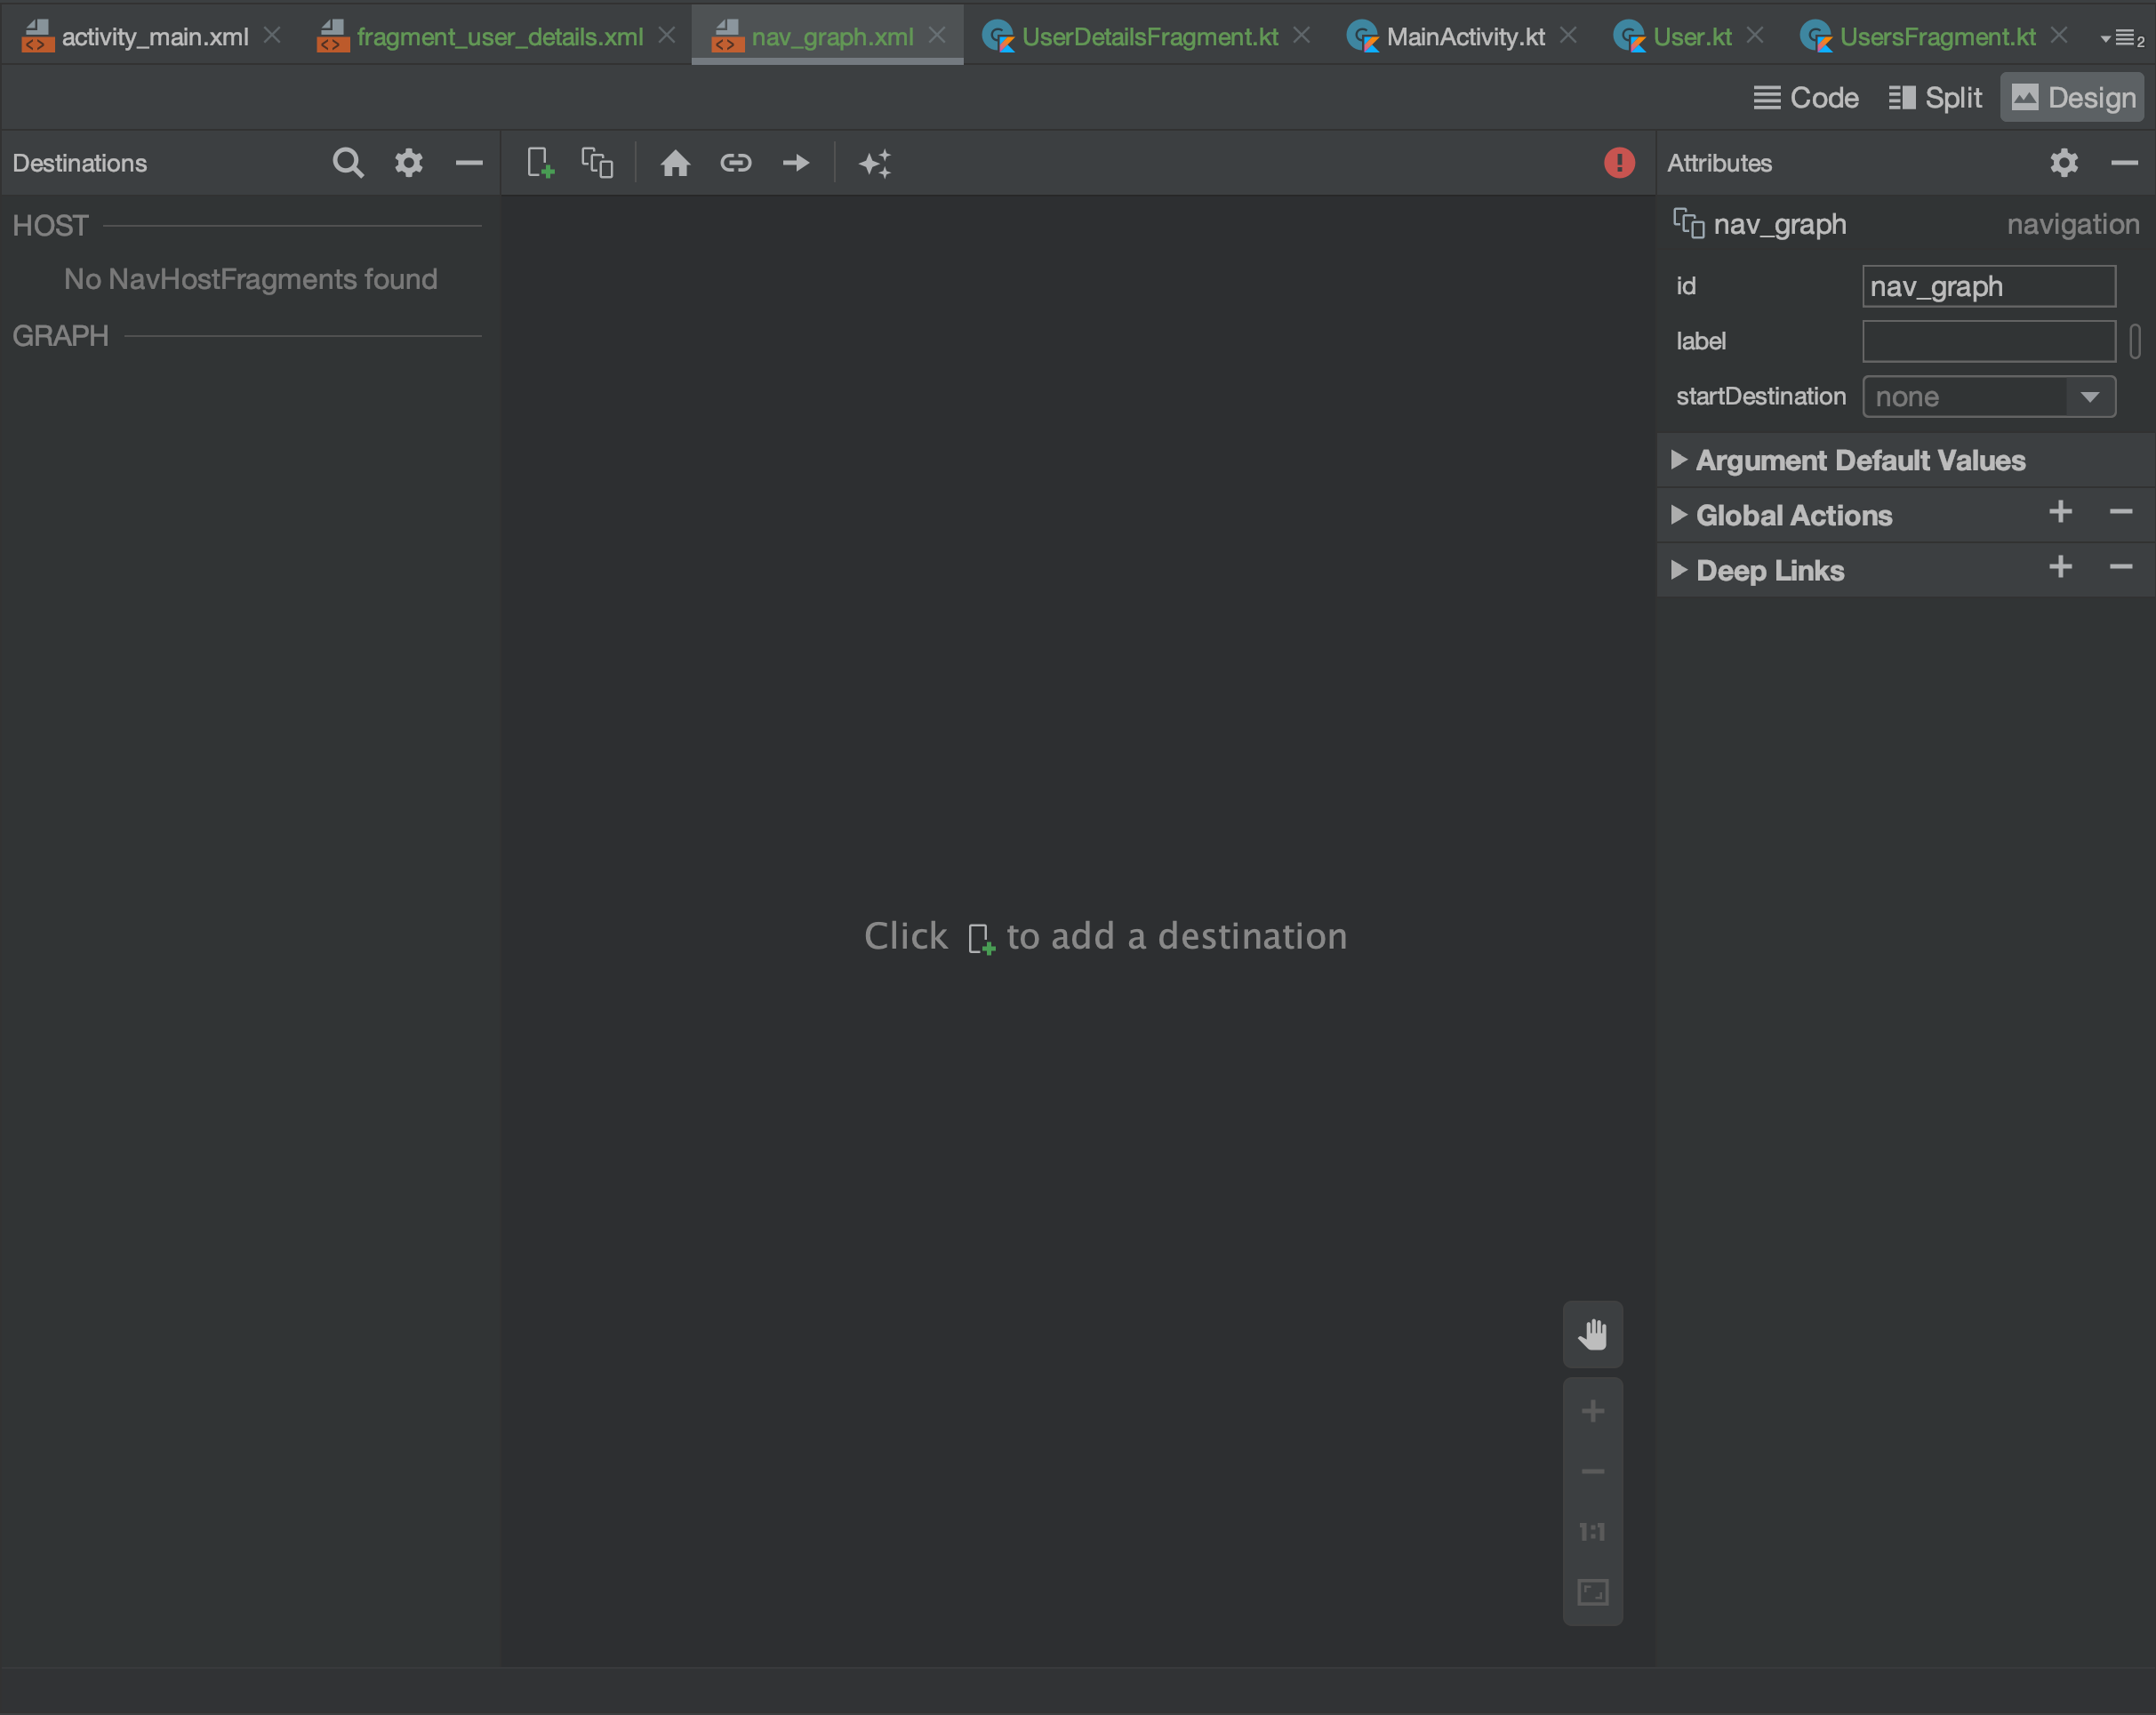
Let's add our fragments to the graph by clicking the (+) icon.
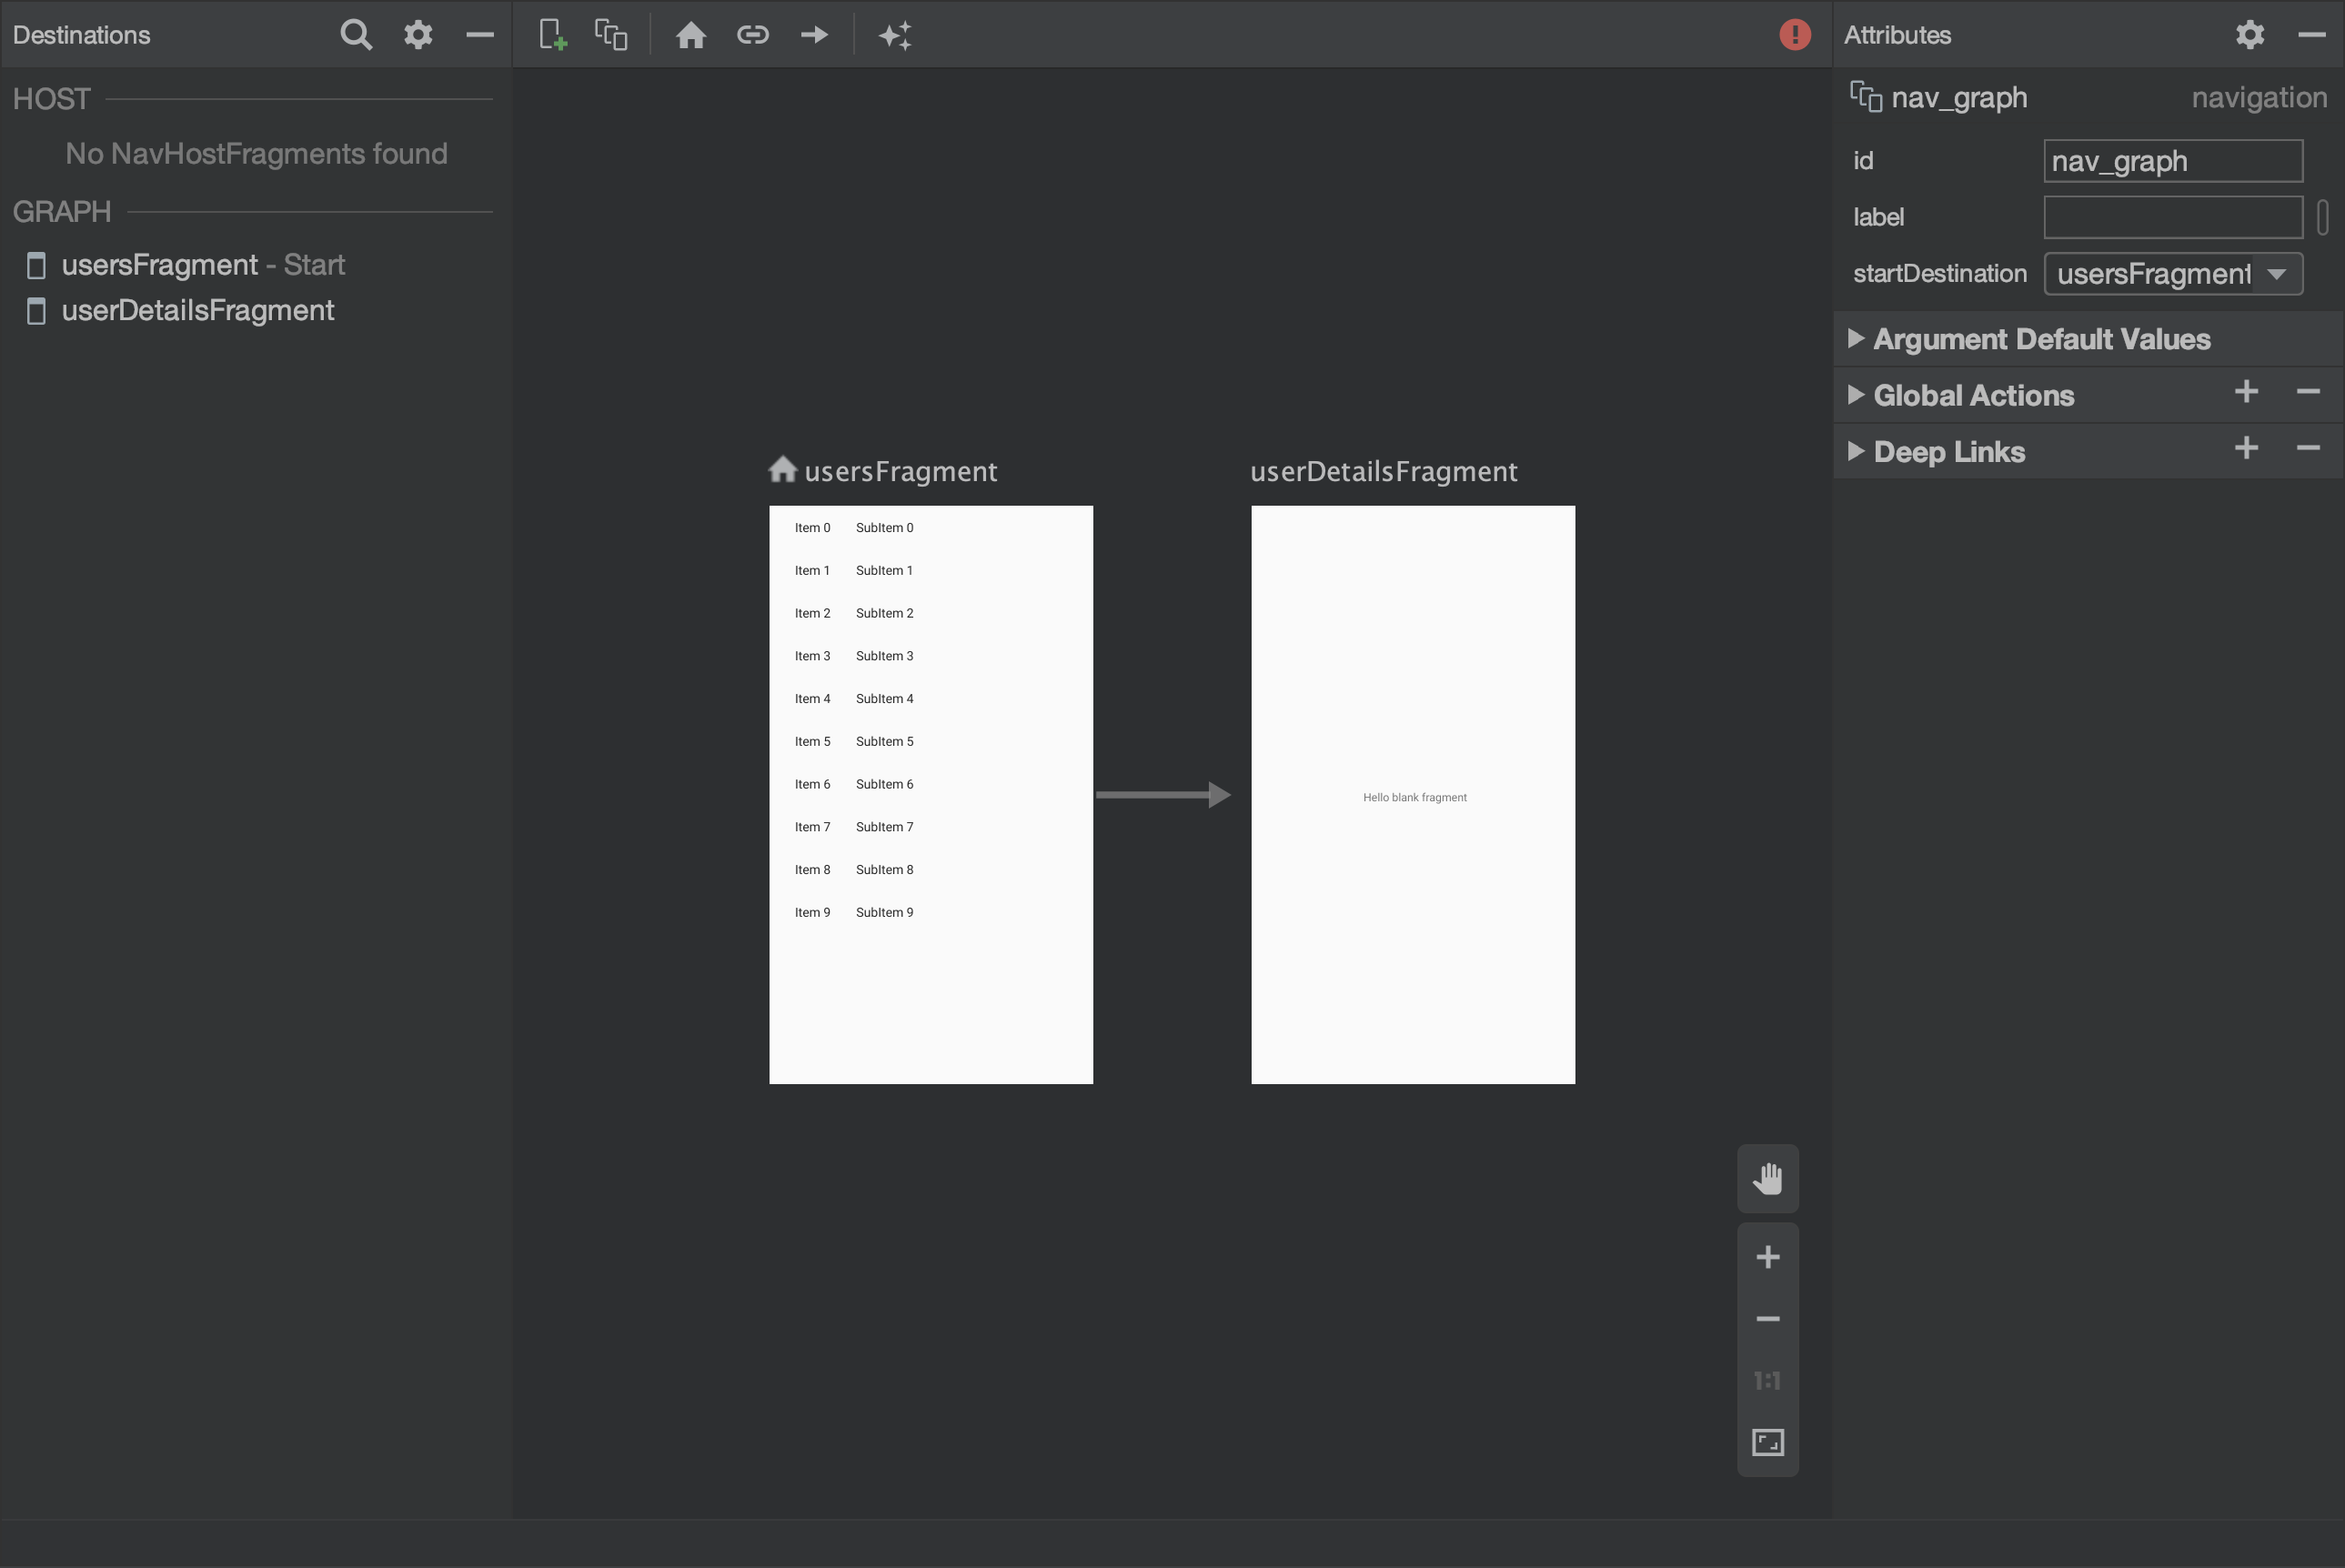
I added the usersFragment first, so it has a house icon next to the name indicating that it will be the entry point for our nav_graph. If you added them in a different order, you can simply select the usersFragment and tap the house icon at the top to make it the start destination.
I also dragged the navigation action arrow to the userDetailsFragment to indicate that we should be able to navigate from usersFragment to userDetailsFragment.
This is a great visual representation of our app's flow, but if we tried to run the app now, we actually wouldn't see our usersFragment. We still need to update our activity_main.xml to become our NavHostFragment.
Let's replace the pre-generated TextView in activity_main.xml with a NavHostFragment.
<?xml version="1.0" encoding="utf-8"?>
<androidx.constraintlayout.widget.ConstraintLayout xmlns:android="http://schemas.android.com/apk/res/android"
    xmlns:app="http://schemas.android.com/apk/res-auto"
    xmlns:tools="http://schemas.android.com/tools"
    android:layout_width="match_parent"
    android:layout_height="match_parent"
    tools:context=".MainActivity">

    <fragment
        android:id="@+id/fragment"
        android:name="androidx.navigation.fragment.NavHostFragment"
        android:layout_width="match_parent"
        android:layout_height="match_parent"
        app:defaultNavHost="true"
        app:navGraph="@navigation/nav_graph" />

</androidx.constraintlayout.widget.ConstraintLayout>
Note
You might receive a warning here to useFragmentContainerViewinstead, but the Android documentation only specifiesfragmentat this stage, so we will continue to use it here.
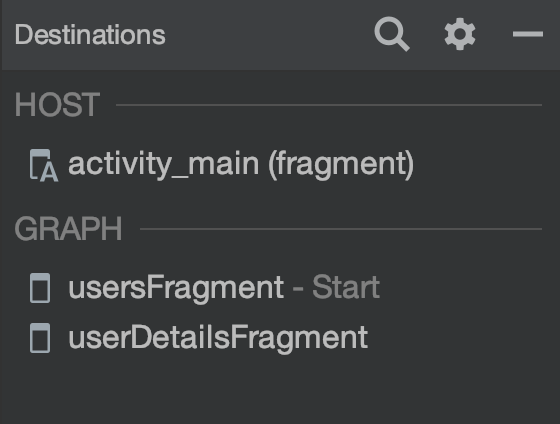
We can head back over to our nav_graph.xml and we should see our activity_main under the HOST section of our Destinations panel.
Now that our nav_graph is laid out, we can specify that we want to pass a User object from usersFragment to userDetailsFragment.
In the code of nav_graph.xml, I can now add an argument within the userDetailsFragment attributes:
... // other userDetailsFragment attributes

<argument
    android:name="user"
    app:argType="com.kiloloco.passing_data.User" />

... // </fragment> of userDetailsFragment
Here we are specifying that we want our Safe Args to have an argument named user which will be of type User.
Note
If you would like to see the different types of arguments you can pass to Safe Args, check out the Android Docs.
Now if we build our project, we should have UsersFragmentDirections and UserDetailsFragmentArgs generated for us.
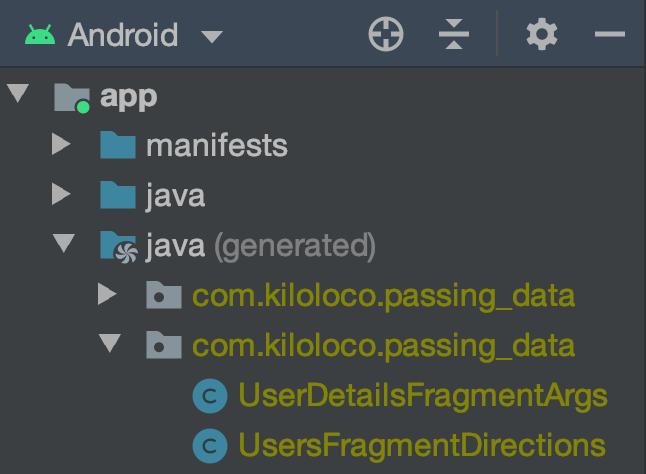
These generated objects will help us use type safety when passing our arguments between fragments as well as remove some of the boilerplate required to access the value of the passed argument.
We need to update UsersRecyclerViewAdapter and UsersRecyclerViewAdapter.ViewHolder to handle passing and receiving the selected User.
... // override fun getItemCount(): Int = users.size

inner class ViewHolder(view: View, var user: User? = null) : RecyclerView.ViewHolder(view) {

... // val idView: TextView = view.findViewById(R.id.item_number)
... // holder.contentView.text = user.name
holder.user = user
... // onBindViewHolder closing }We added a nullable user property to our ViewHolder, then updated the user property of the holder in our onBindViewHolder method.
Let's also update our ViewHolder to actually handle the selection of the user and the navigation to the UserDetailsFragment.
... // val contentView: TextView = view.findViewById(R.id.content)

init {
    view.setOnClickListener {
        user?.let { user ->
            val directions = UsersFragmentDirections.actionUsersFragmentToUserDetailsFragment(user)
            view.findNavController().navigate(directions)
        }
    }
}

... // override fun toString(): String {
In our onClickListenter, we are passing the user as an argument in UsersFragmentDirections.actionUsersFragmentToUserDetailsFragment which is expecting a User object; that's the sexy type safety we were after 🙌🏽
The directions contain the action that is generated from our nav_graph which is associated with the flow we created from the UsersFragment to the UserDetailsFragment. It also passes our User object into the bundle which we will be able to access from our UserDetailsFragmentArgs.
We can now head over to the UserDetailsFragment to handle the receiving of the selected User.
... // class UserDetailsFragment : Fragment() {

private val args: UserDetailsFragmentArgs by navArgs()
private lateinit var user: User

... //
We can access our arguments by delegating to navArgs() and will need a lateinit var that will hang onto the User.
... // val view = inflater.inflate(R.layout.fragment_user_details, container, false)

user = args.user

... // return view
Since args is of type NavArgsLazy<UserDetailsFragmentArgs>, we are able to access the user property directly from the arguments and store it to this.user.
... // onCreateView closing }

override fun onViewCreated(view: View, savedInstanceState: Bundle?) {
    super.onViewCreated(view, savedInstanceState)
    textView.text = user.description
}

... // UserDetailsFragment closing }
With this.user updated in onCreateView, we can access our NonNull user to update our UI in onViewCreated.
Let's give our app a run, and see if it works as expect 🤞🏽
Now that's a pretty clean way to pass some data! ✨