
Uploading Files from iOS to Amazon S3
When it comes to working with files like images, audio files, or video; AWS Amplify makes it easy to store and download those files directly to your iOS app. Amplify's Storage category uses Amazon S3 to to store those files and the Storage APIs are extremely straight forward.
Prerequisites
- Xcode
- AWS Account
- Install Amplify CLI version 4.22.0 or later by running:
curl -sL https://aws-amplify.github.io/amplify-cli/install | bash && $SHELL
- Configure the Amplify CLI by running:
amplify configure
Setting up your project
First start by initializing your Amplify project in the same directory as your Xcode project:
amplify init
You can press enter for each prompt to provide the default answer:
? Enter a name for the project sendfiles
The following configuration will be applied:

Project information
| Name: sendfiles
| Environment: dev
| Default editor: Visual Studio Code
| App type: ios

? Initialize the project with the above configuration? Yes
Using default provider  awscloudformation
? Select the authentication method you want to use: AWS profile
Next, add the Storage category:
amplify add storage
Storage requires the Auth category in order to work, so setup Auth when prompted:
? Please select from one of the below mentioned services: Content (Images, aud
io, video, etc.)
✔ You need to add auth (Amazon Cognito) to your project in order to add storage for user files. Do you want to add auth now? (y/N) · yes

Using service: Cognito, provided by: awscloudformation

 The current configured provider is Amazon Cognito.

 Do you want to use the default authentication and security configuration? Def
ault configuration
 Warning: you will not be able to edit these selections.
 How do you want users to be able to sign in? Username
 Do you want to configure advanced settings? No, I am done.
? Please provide a friendly name for your resource that will be used to label
this category in the project: s3bf6fb66d
? Please provide bucket name: sendfiles069984cbf7744d598d3dd6a7ea040b5a
? Who should have access: Auth and guest users
? What kind of access do you want for Authenticated users? create/update, read
, delete
? What kind of access do you want for Guest users? create/update, read, delete


? Do you want to add a Lambda Trigger for your S3 Bucket? No
Once your Storage resources are configured, you can push the configuration to the backend:
amplify push
Integrating into your app
Now that the backend is configured and ready to accept files, it's time to setup the app to use the Amplify Libraries.
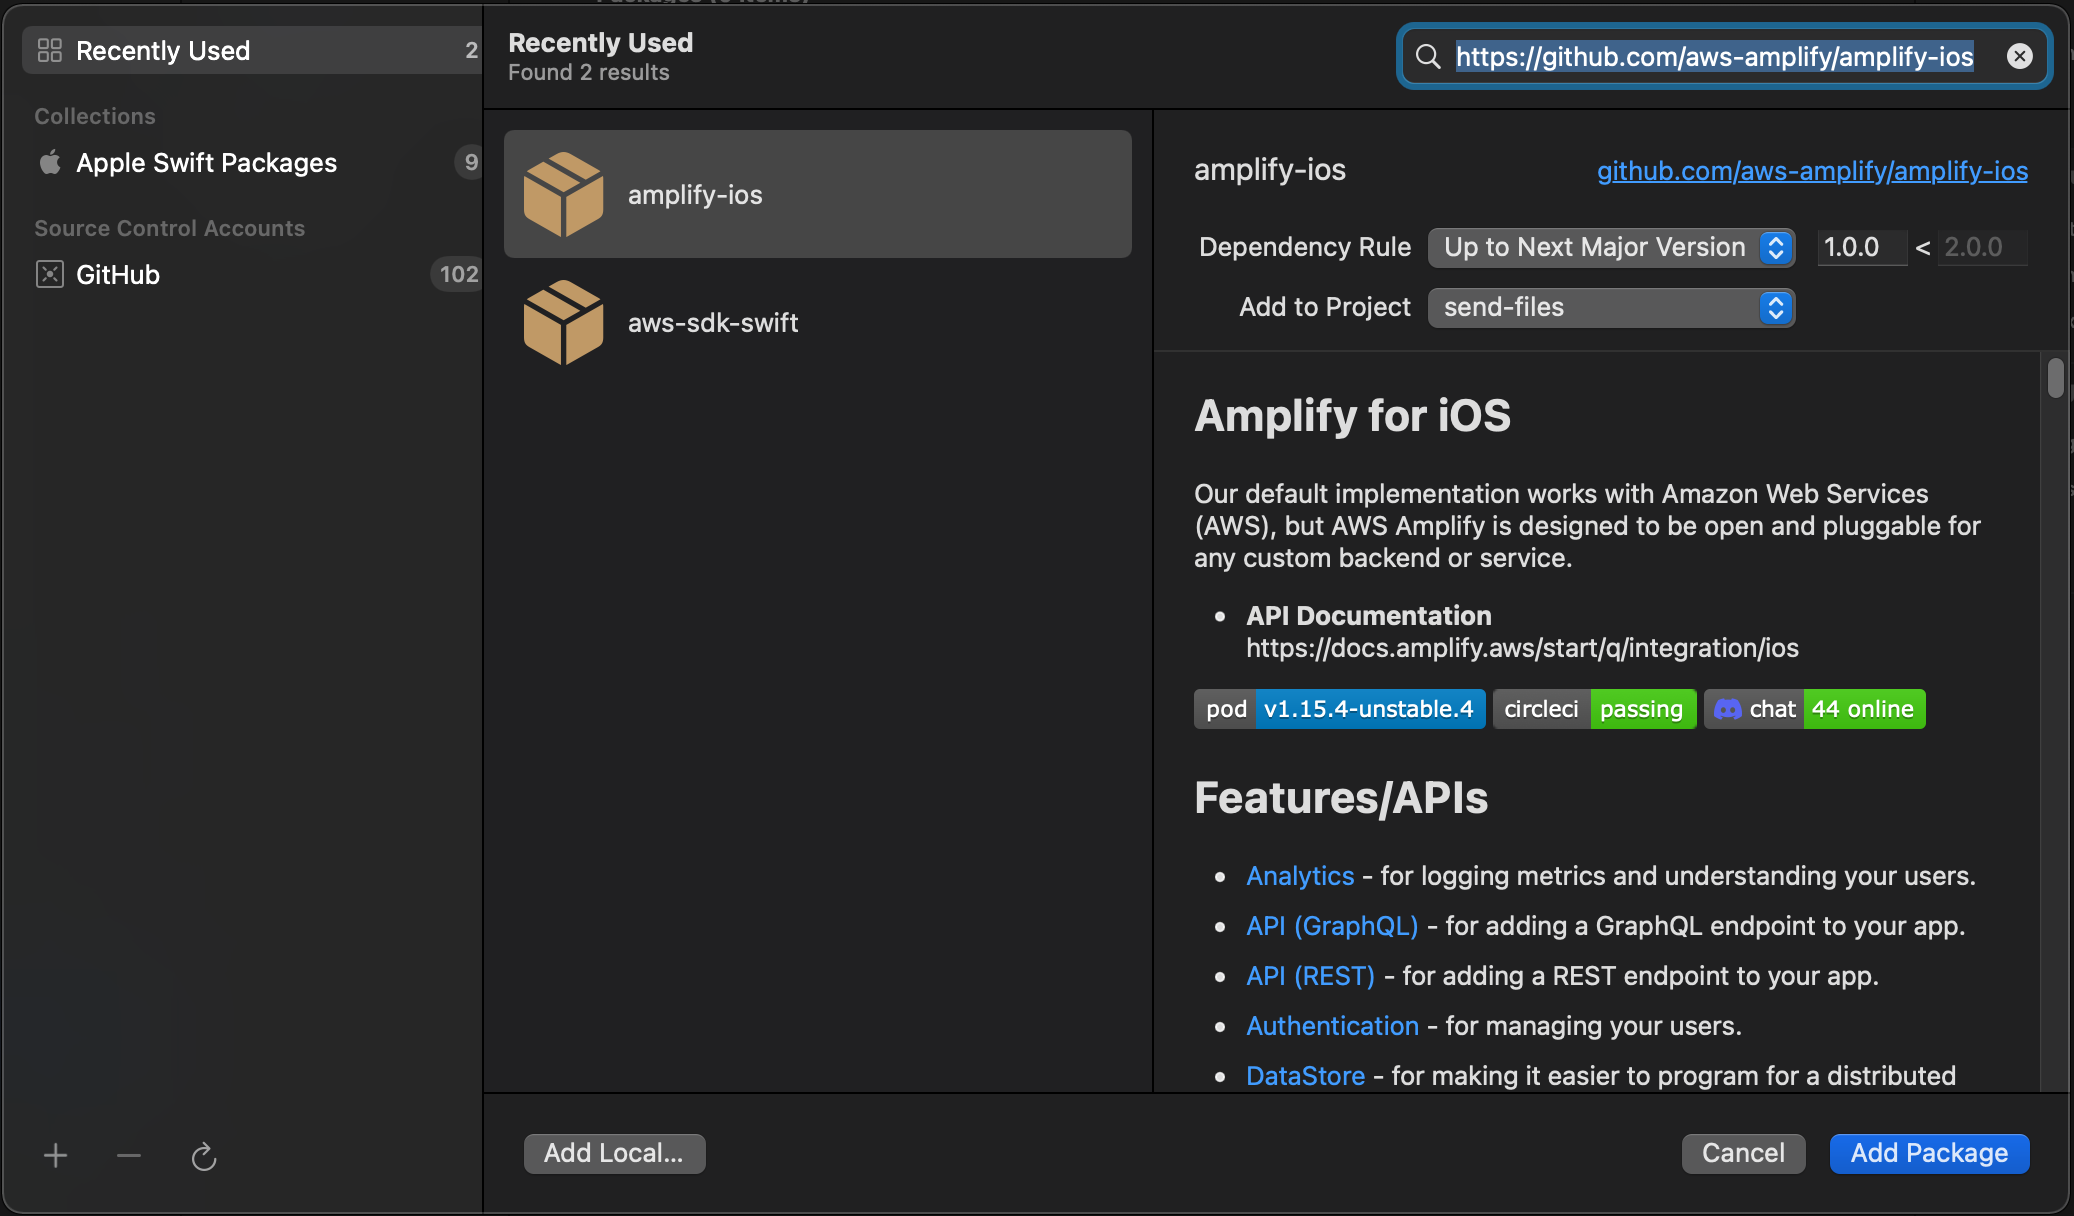
Start by adding Amplify to your project using Swift Package Manager (Your Project > Package Dependencies > +)
Search for the Amplify iOS repo by entering in repo URL (https://github.com/aws-amplify/amplify-ios) and add the package.
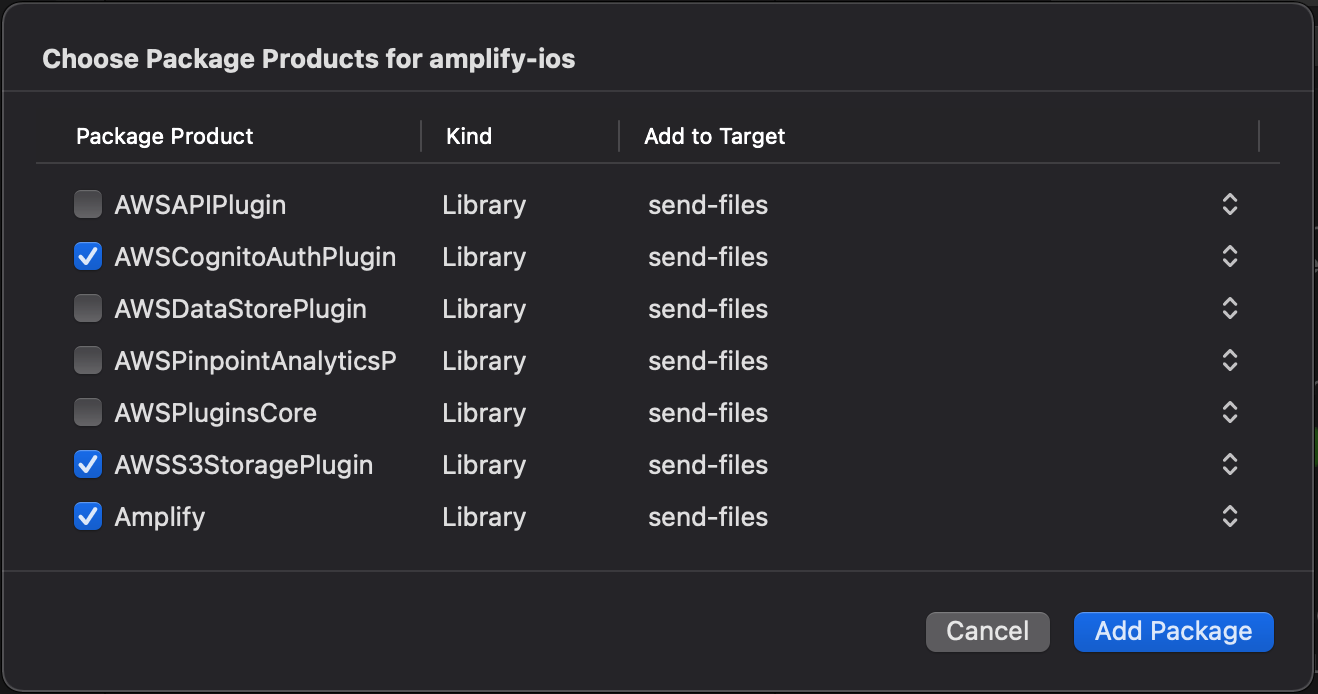
Select the Amplify, AWSCognitoAuthPlugin, and AWSSS3StoragePlugin package products.
Now that the Libraries have been added to the project, they must be configured.
In the <Your_Project>App.swift file, configure Amplify by adding the following:
import Amplify
import AWSCognitoAuthPlugin
import AWSS3StoragePlugin

@main
struct <Your_Project>App: App {

    ...

    init() {
        configureAmplify()
    }

    private func configureAmplify() {
        do {
            try Amplify.add(plugin: AWSCognitoAuthPlugin())
            try Amplify.add(plugin: AWSS3StoragePlugin())

            try Amplify.configure()
            print("Successfully configured Amplify")

        } catch {
            print("Could not configure Amplify", error)
        }
    }
}
Now when you run the app, you should get the success statement logged to your console:
Successfully configured Amplify
Uploading and downloading files
With the app connected to the backend, files can now be stored in S3.
In the ContentView.swift file, add the following:
let imageKey: String = "house-icon"
@State var image: UIImage?

var body: some View {
    VStack(spacing: 40) {
        if let image = self.image {
            Image(uiImage: image)
                .resizable()
                .aspectRatio(1, contentMode: .fit)
                .frame(width: 100, height: 100)
        }
        Button("Upload", action: uploadImage)
        Button("Download", action: downloadImage)
    }
}
This will setup a UI that allows you to upload and download images using buttons as well as see the downloaded image if it exists.
Next add the upload and download functions:
func uploadImage() {
    let houseImage = UIImage(systemName: "house")!
    let houseImageData = houseImage.jpegData(compressionQuality: 1)!

    Amplify.Storage.uploadData(key: imageKey, data: houseImageData) { result in
        switch result {
        case .success(let uploadedData):
            print(uploadedData)
        case .failure(let error):
            print(error)
        }
    }
}

func downloadImage() {
    Amplify.Storage.downloadData(key: imageKey) { result in
        switch result {
        case .success(let data):
            DispatchQueue.main.async {
                self.image = UIImage(data: data)
            }
        case .failure(let error):
            print(error)
        }
    }
}
Both functions take advantage of the straightforward Amplify Storage APIs. Simply upload or download a file using a key (some String), and observe the result in a closure.
Once you build and run the app, you should be able to upload a file, then download it to show it on the screen:
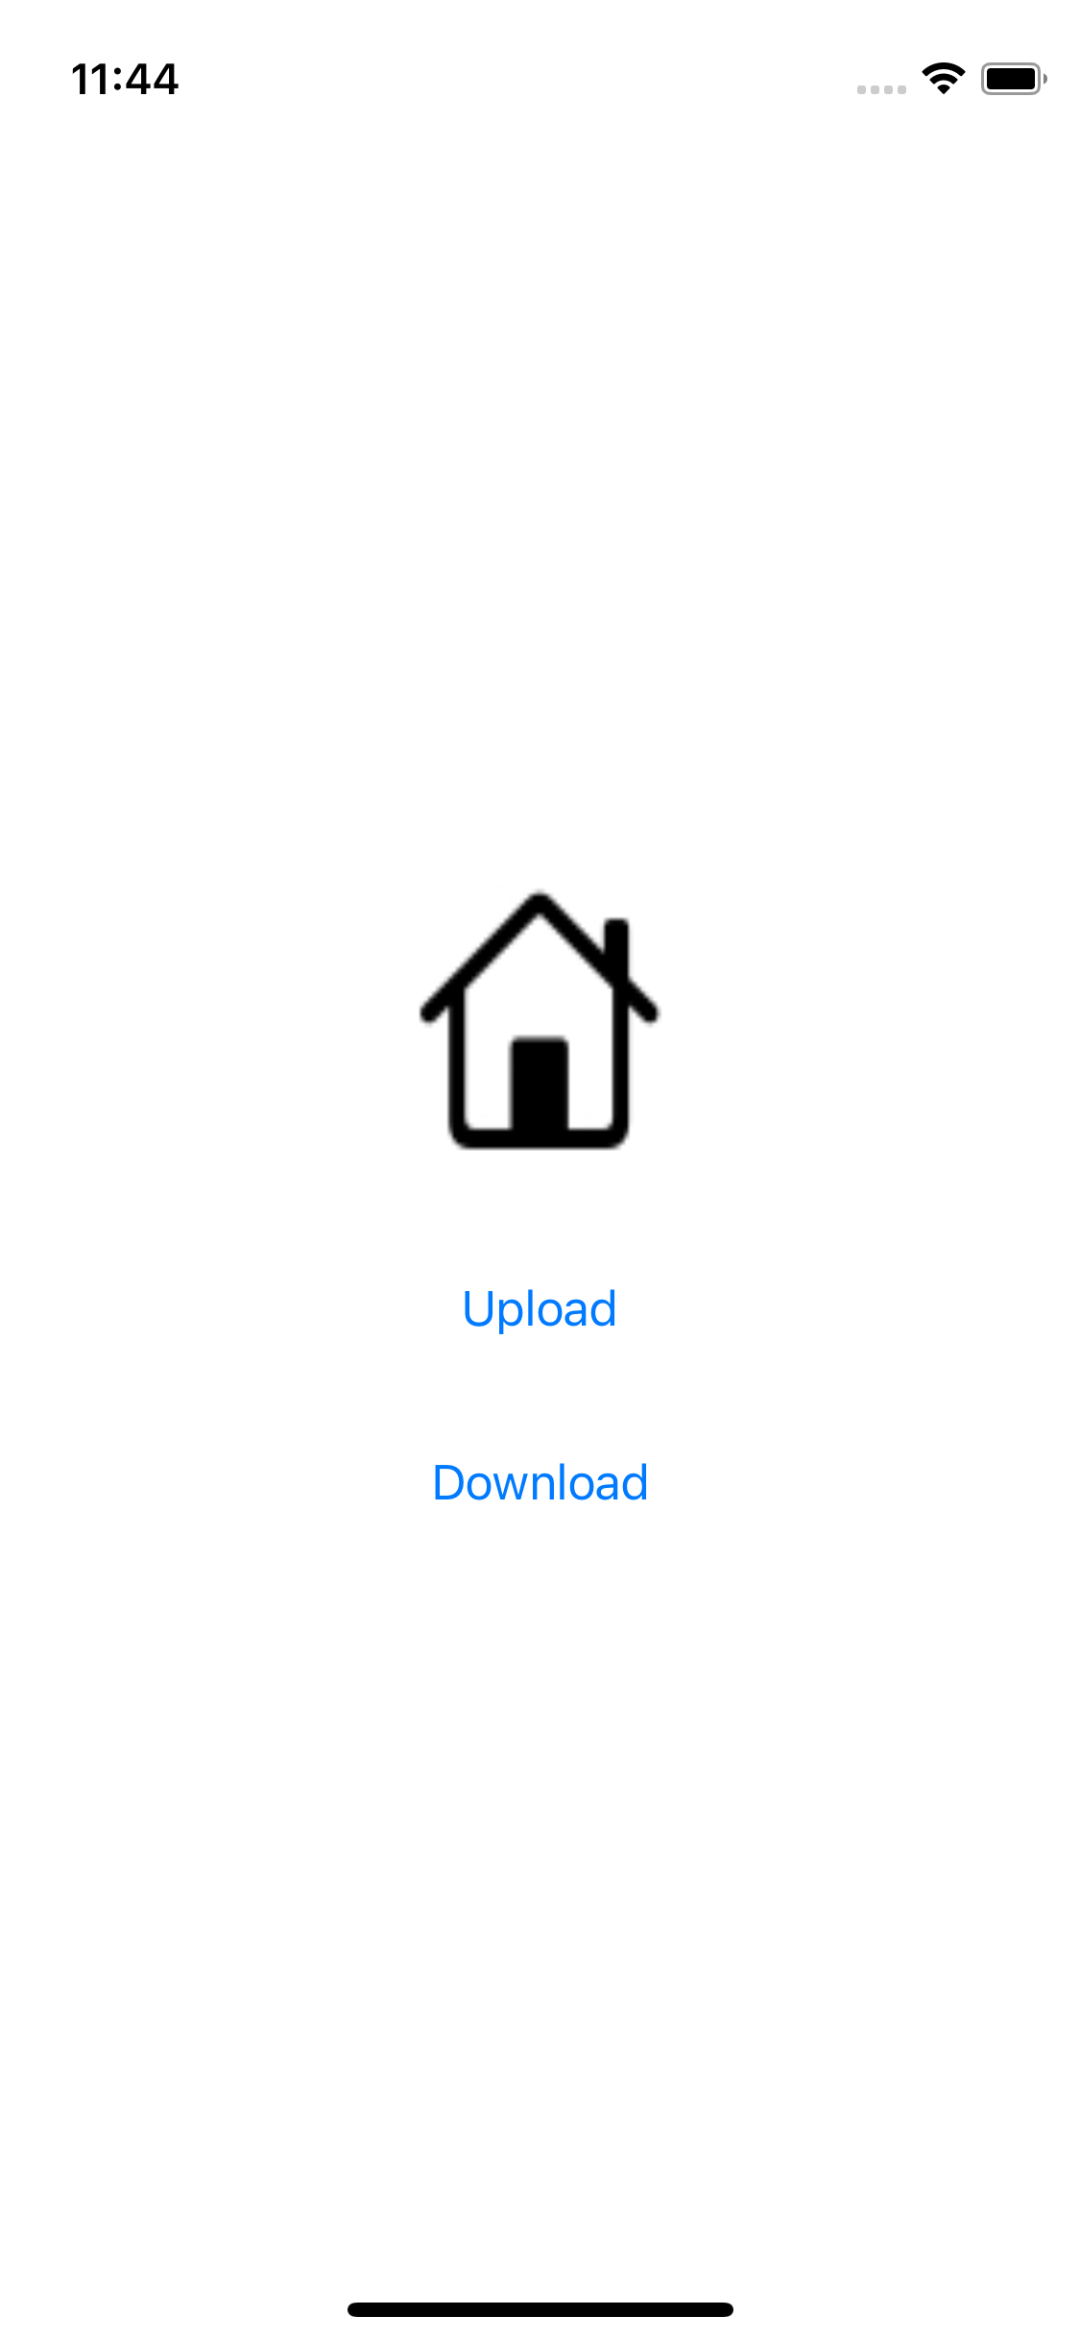
That's it! All you need to do is convert whatever kind of file you want to upload to Data, or provide the actual file path, and simply upload it!