
Starting with Xcode 14.1, you'll be able to implement the new NavigationSplitView API which handles navigation using multiple columns on a macOS app. This article will show you how to get up and running with NavigationSplitView and how to manage the sidebar, content, and details of your data.
For simplicity, this article will be working with basic views with the following format:
struct UsersView: View {
    var body: some View {
        List(DDUser.data) { user in
            Text(user.fullName)
        }
    }
}
struct UserDetailsView: View {
    let user: DDUser
    var body: some View {
        Text("Hello \(user.id)")
    }
}
struct AnimalsView: View { ... }
struct AnimalDetailsView: View { ... }
struct FoodView: View { ... }
struct FoodDetailsView: View { ... }
You can see the example project here. It's using SwiftDummyData to provide the models which are prefixed with
DD.
Your app will need a View that is responsible for handling which Views can be shown and when to show them. Create a new file called NavigationManagerView.swift and add the following code:
import SwiftUI

struct NavigationManagerView: View {
    // 1
    @State var sideBarVisibility: NavigationSplitViewVisibility = .doubleColumn

    var body: some View {
        // 2
        NavigationSplitView(columnVisibility: $sideBarVisibility) {
            Text("Users")
        // 3
        } detail: {
            UsersView()
        }
    }
}
sideBarVisibilityis the property that will be used to handle how many columns will be visible at a time. The.doubleColumnvalue specifies that at least two columns should be shown initially.NavigationSplityViewis the newViewthat makes navigation much easier for macOS, and it's compatible across the other Apple platforms as well. The first block contains the SideBar column's content, which will be some text that says "Users"- The
detailsblock is responsible for showing the contents of the second column.
Update your app object to show NavigationManagerView as the initial view:
... // WindowGroup {

NavigationManagerView()

... // }
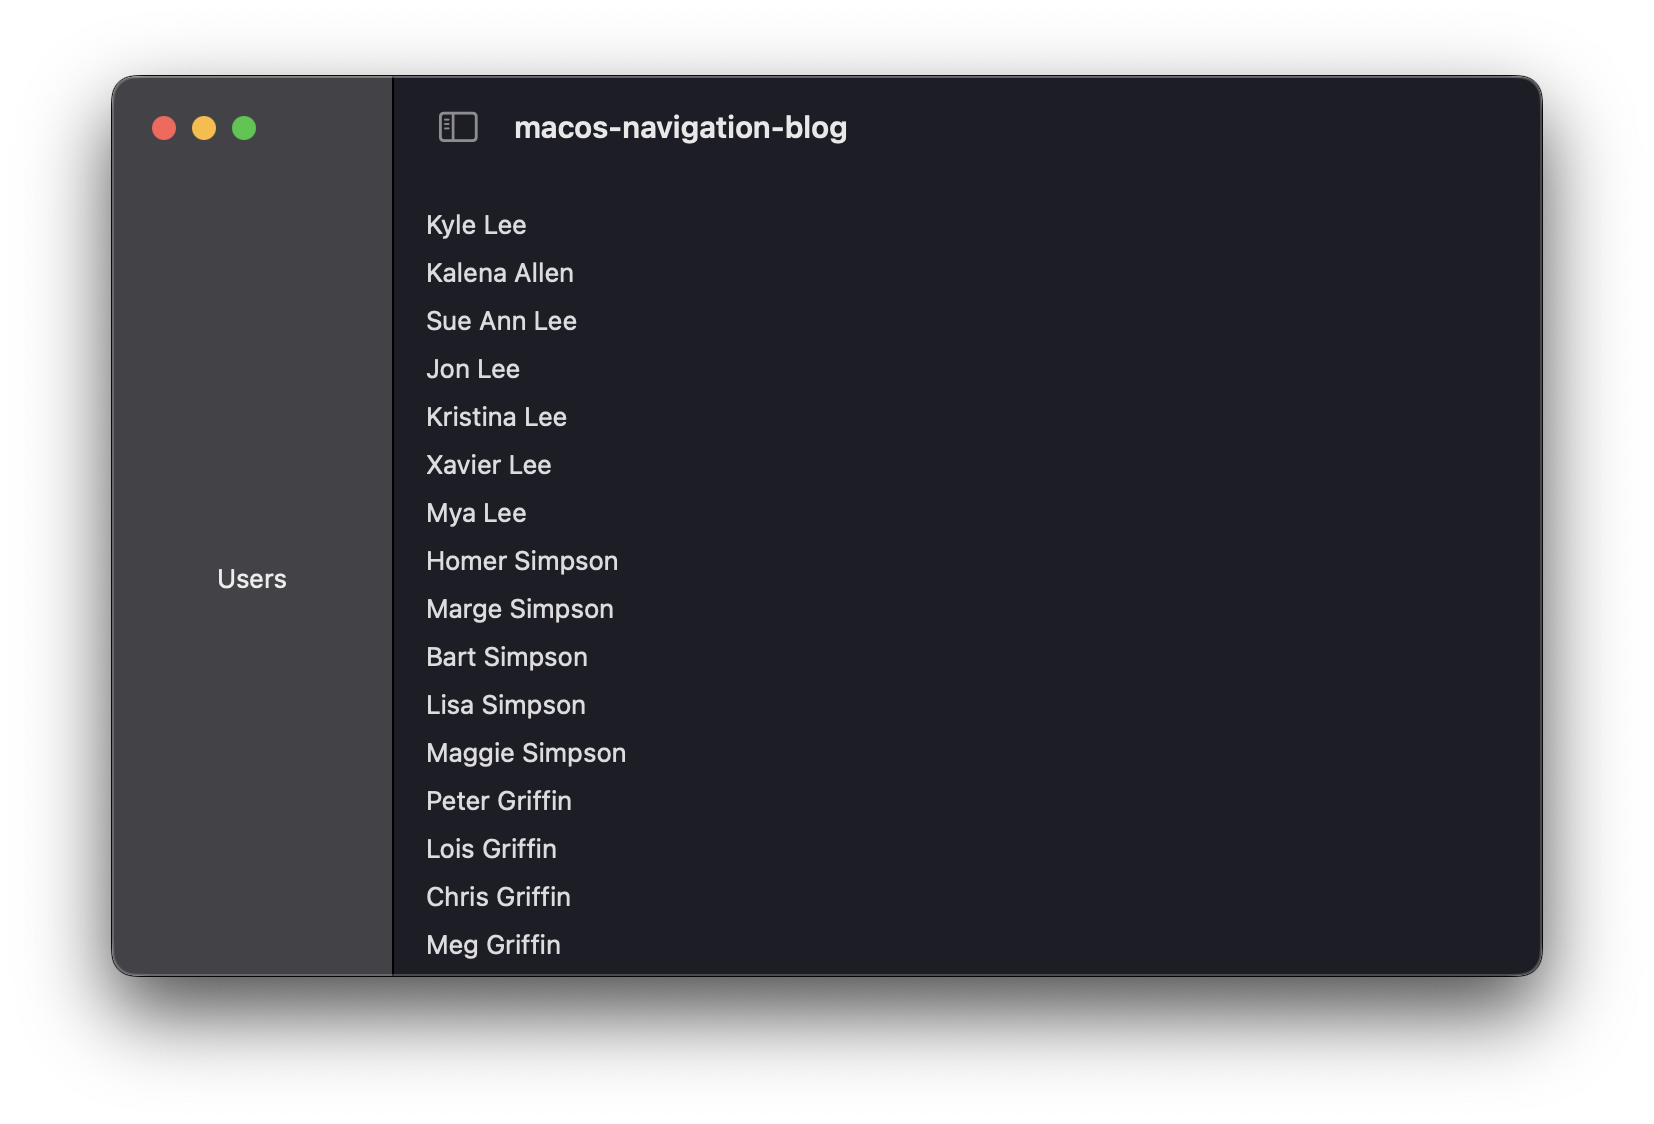
If you build and run, your macOS app should look like the picture below:
In many apps, the SideBar contains different sections/features of the app and is limited in selection. To list the different options available from the SideBar, create an enum to represent each case:
enum SideBarItem: String, Identifiable, CaseIterable {
    var id: String { rawValue }

    case users
    case animals
    case food
}
SideBarItem will conform to String to have a simple rawValue, Identifiable to be used in a List, and CaseIterable to provide the .allCases property.
Create an instance property of SideBarItem in NavigationManagerView:
... // @State var sideBarVisibility: NavigationSplitViewVisibility = .doubleColumn

 @State var selectedSideBarItem: SideBarItem = .users

 ... // var body: some View {
Then update the NavigationSplitView to the following:
NavigationSplitView(columnVisibility: $sideBarVisibility) {
    // 1
    List(SideBarItem.allCases, selection: $selectedSideBarItem) { item in
        // 2
        NavigationLink(
            item.rawValue.localizedCapitalized,
            value: item
        )
    }
} detail: {
    // 3
    switch selectedSideBarItem {
    case .users:
        UsersView()
    case .animals:
        AnimalsView()
    case .food:
        FoodView()
    }
}
Listis used to iterate over the different cases forSideBarItemand theselectionparameter will keep the selected side bar item highlighted.NavigationLinkmakes each option in the SideBar clickable and works withListto update the value forselectedSideBarItem.- The
detailsblock is updated to switch over the possible side bar items and presents its respectiveView.
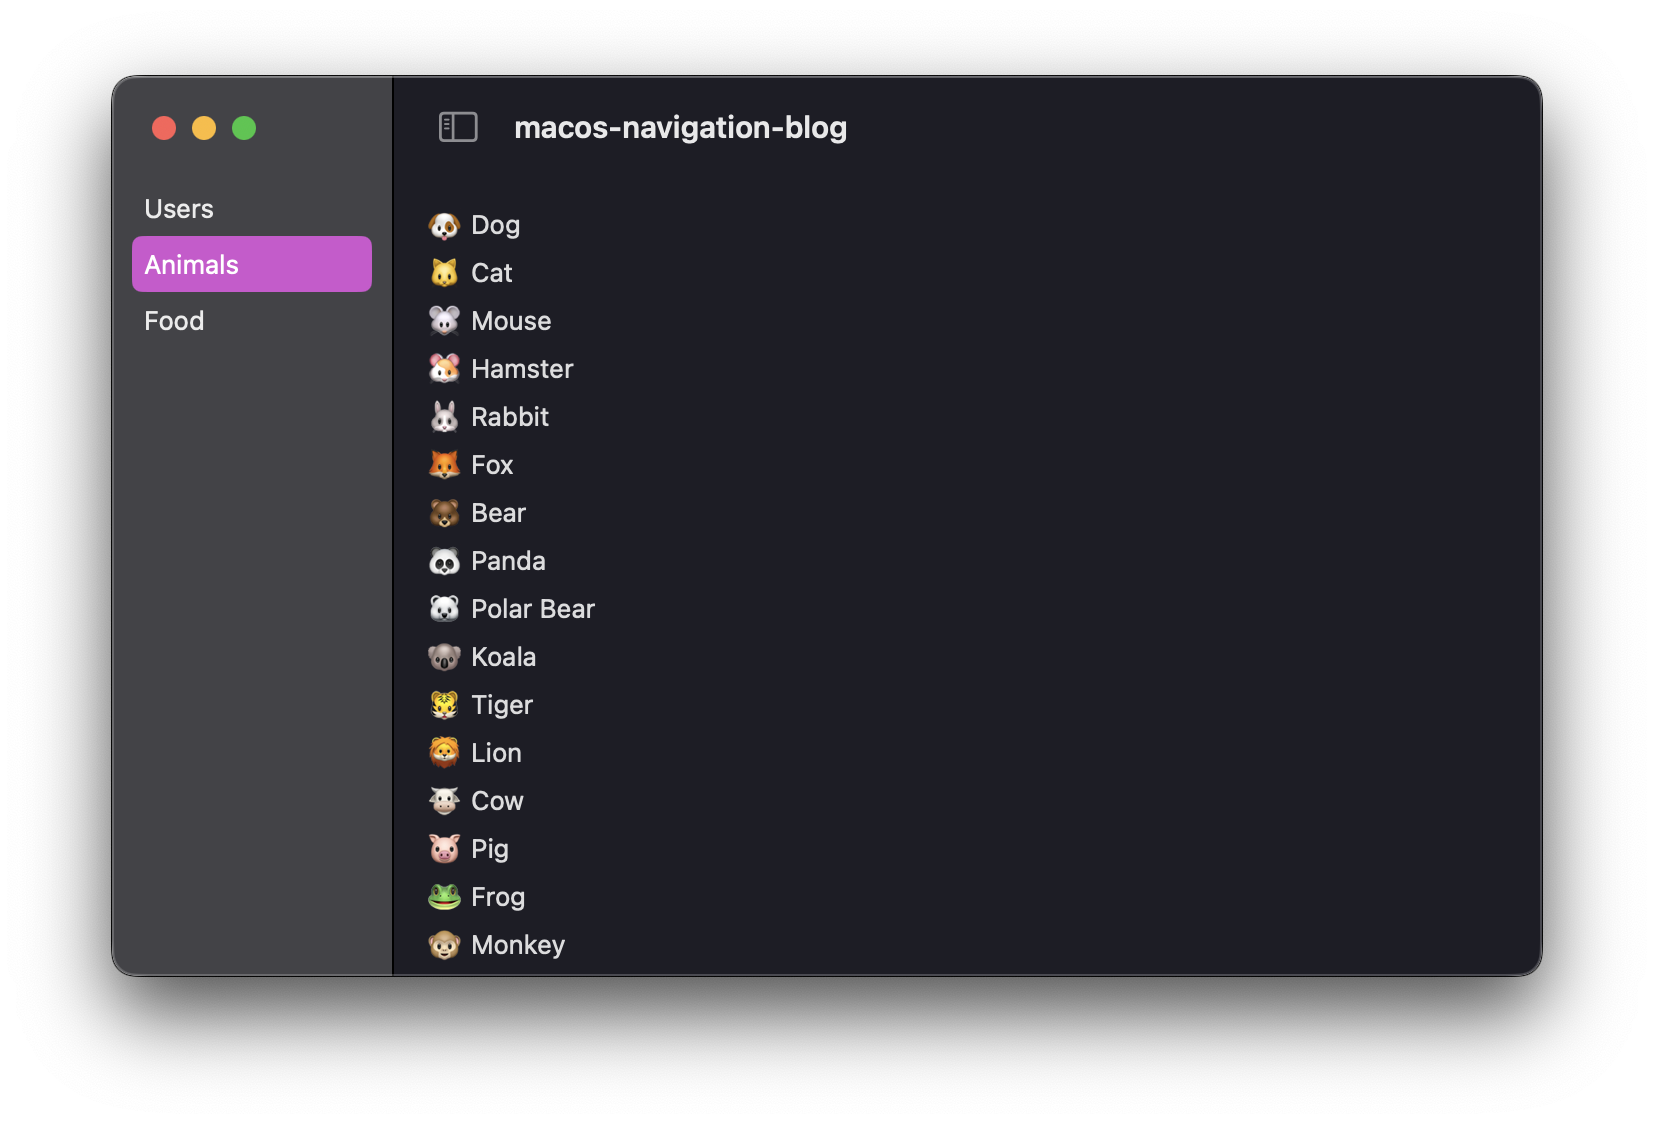
You will now be able to see the data for each section when you select it in the SideBar.
To enable the user to click an item from one of the tabs and see the details about the selected item, we have to make a slight modification to each of the views that contain a List.
Update UsersView to the following code and make similar adjustments to AnimalsView and FoodView:
struct UsersView: View {
    // 1
    let selectedUser: Binding<DDUser?>

    var body: some View {
        // 2
        List(DDUser.data, selection: selectedUser) { user in
            // 3
            NavigationLink(user.id, value: user)
        }
    }
}
selectedUseris a binding property that will link the parent view (NavigationManagerView) to the selected value from theList.Listhas been updated with theselectedproperty to keep the clicked item highlighted and work with theNavigationLinkbelow it.NavigationLinkis used in place ofTextto make theuser.idclickable and pass the value to the hostingNavigationSplitView.
Next, create an enum that will represent selecting each of the items from the listing views:
enum DetailItem: Hashable {
    case user(DDUser)
    case animal(DDAnimal)
    case food(DDFood)
}
Each case has an associated value that is required to initialize each of the detail views for the respective model.
Back in NavigationManagerView add the following properties:
... // @State var selectedSideBarItem: SideBarItem = .users

// 1
@State var selectedUser: DDUser?
@State var selectedAnimal: DDAnimal?
@State var selectedFood: DDFood?

// 2
var selectedDetailItem: DetailItem? {
    if let user = selectedUser {
        return .user(user)
    } else if let animal = selectedAnimal {
        return .animal(animal)
    } else if let food = selectedFood {
        return .food(food)
    } else {
        return nil
    }
}

... // var body: some View {
- These properties will store the selected values from the listing views.
selectedDetailsItemis a computed property that will surface the selectedDetailItembased on the properties being used as bindings.
Since selectedDetailsItem is dependent on each of the selected- properties, it's important to clear the selected item each time selectedSideBarItem is updated. Add the following modifier to the List in the SideBar:
... //

.onChange(of: selectedSideBarItem) { _ in
    self.selectedUser = nil
    self.selectedFood = nil
    self.selectedAnimal = nil
}

... // } detail: {
Now the selected items will be set to nil when moving between SideBarItems.
Finally, replace the details block with the following code:
// 1
} content: {
    switch selectedSideBarItem {
    case .users:
        UsersView(selectedUser: $selectedUser)
    case .animals:
        AnimalsView(selectedAnimal: $selectedAnimal)
    case .food:
        FoodView(selectedFood: $selectedFood)
    }
// 2
} detail: {
    // 3
    if let detailItem = selectedDetailItem {
        switch detailItem {
        case .user(let user):
            UserDetailsView(user: user)
        case .animal(let animal):
            AnimalDetailsView(animal: animal)
        case .food(let food):
            FoodDetailsView(food: food)
        }
    }
}
- The original
detailblock was updated tocontentsince we are now working with a three column layout. - The new
detailcolumn will be responsible for displaying the object details screen. - If the
selectedDetailItemhas a value, display the propert details view by passing the associated value.
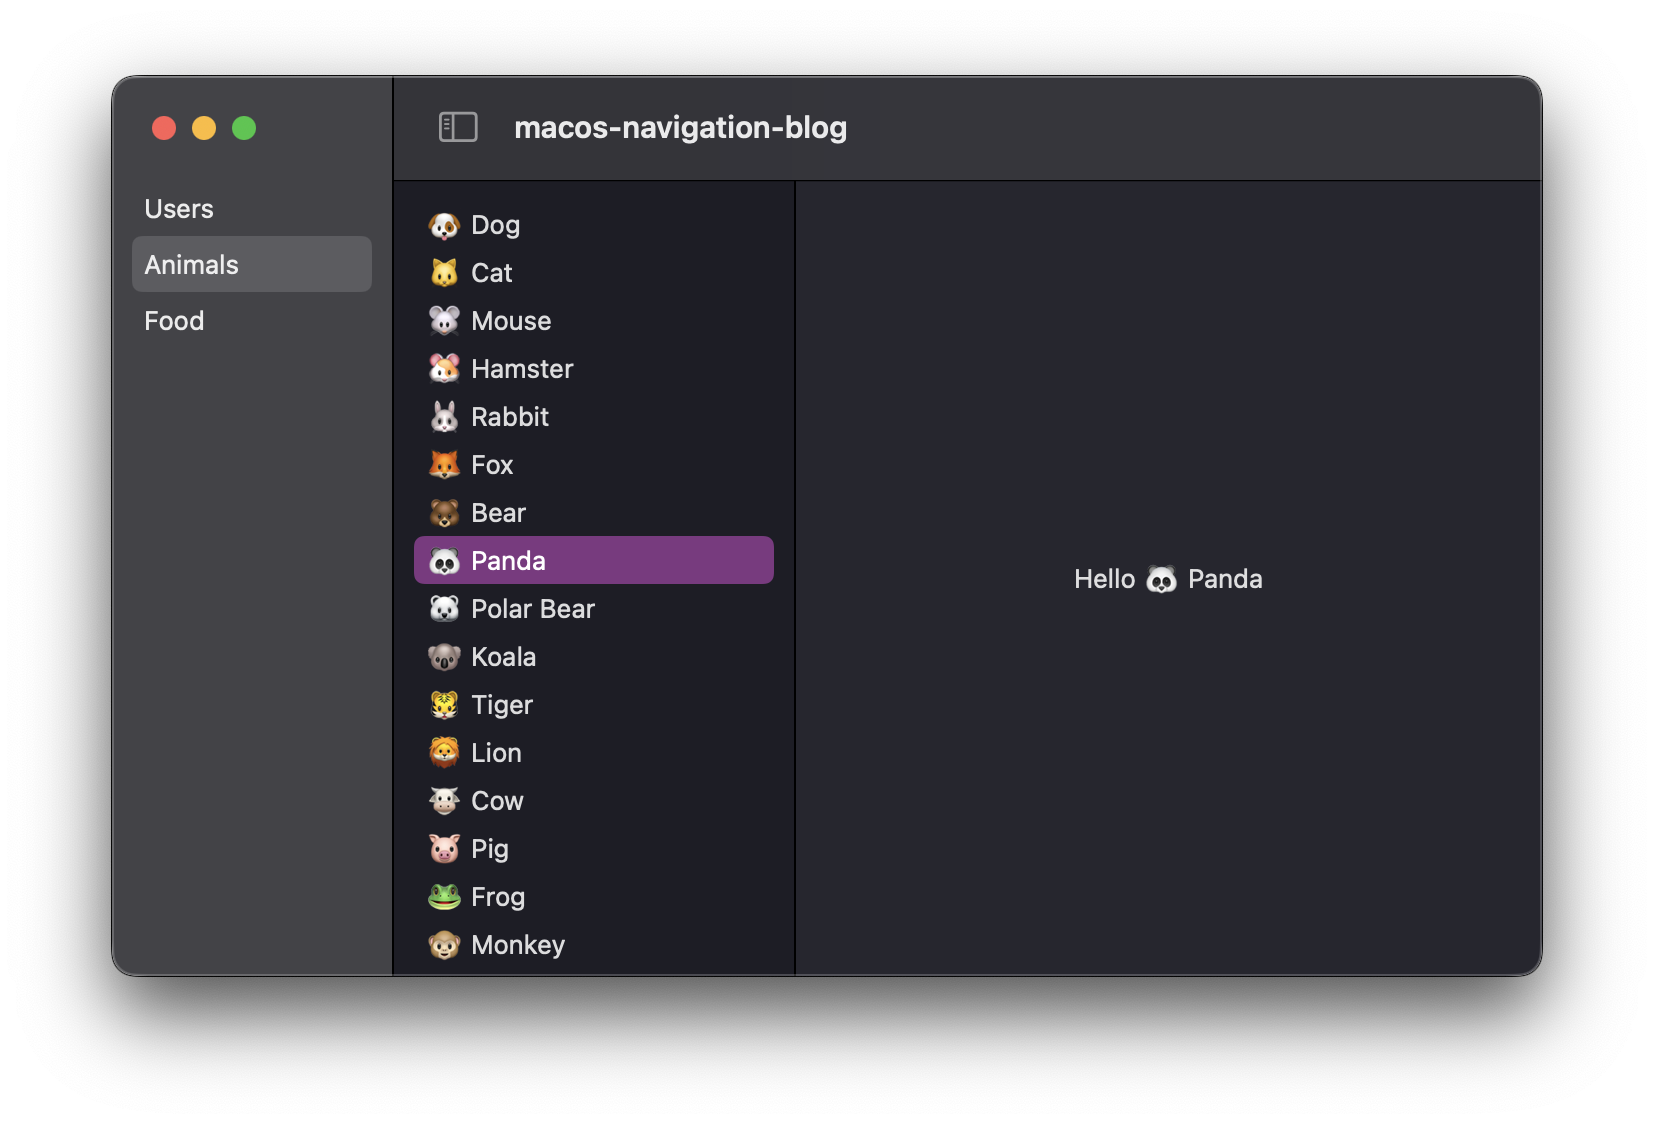
Build and run and you should now be able to select any of the SideBarItems and click a list item to see the details for each:
Here is the final code of NavigationManagerView:
struct NavigationManagerView: View {
    @State var sideBarVisibility: NavigationSplitViewVisibility = .doubleColumn
    @State var selectedSideBarItem: SideBarItem = .users

    @State var selectedUser: DDUser?
    @State var selectedAnimal: DDAnimal?
    @State var selectedFood: DDFood?

    var selectedDetailItem: DetailItem? {
        if let user = selectedUser {
            return .user(user)
        } else if let animal = selectedAnimal {
            return .animal(animal)
        } else if let food = selectedFood {
            return .food(food)
        } else {
            return nil
        }
    }

    var body: some View {
        NavigationSplitView(columnVisibility: $sideBarVisibility) {
            List(SideBarItem.allCases, selection: $selectedSideBarItem) { item in
                NavigationLink(
                    item.rawValue.localizedCapitalized,
                    value: item
                )
            }
            .onChange(of: selectedSideBarItem) { _ in
                self.selectedUser = nil
                self.selectedFood = nil
                self.selectedAnimal = nil
            }
        } content: {
            switch selectedSideBarItem {
            case .users:
                UsersView(selectedUser: $selectedUser)
            case .animals:
                AnimalsView(selectedAnimal: $selectedAnimal)
            case .food:
                FoodView(selectedFood: $selectedFood)
            }
        } detail: {
            if let detailItem = selectedDetailItem {
                switch detailItem {
                case .user(let user):
                    UserDetailsView(user: user)
                case .animal(let animal):
                    AnimalDetailsView(animal: animal)
                case .food(let food):
                    FoodDetailsView(food: food)
                }
            }
        }
    }
}
The entire project can be found here.