
Authentication is one of those things that seems pretty simple on the surface, but tends to be an extremely tedious feature to implement into an app. Luckily, AWS Amplify can make life much easier when it comes to Auth because of the web sign-in option.
The web sign-in feature opens up a new window inside your app that will take the user to a website sign-in/sign-up flow that is connected to your AWS resources. All you have to do is manage when the sign-in is successful and any errors are thrown during the sign-up process.
Let's test it out in a SwiftUI app.
Project Setup
We can start off with a new app.
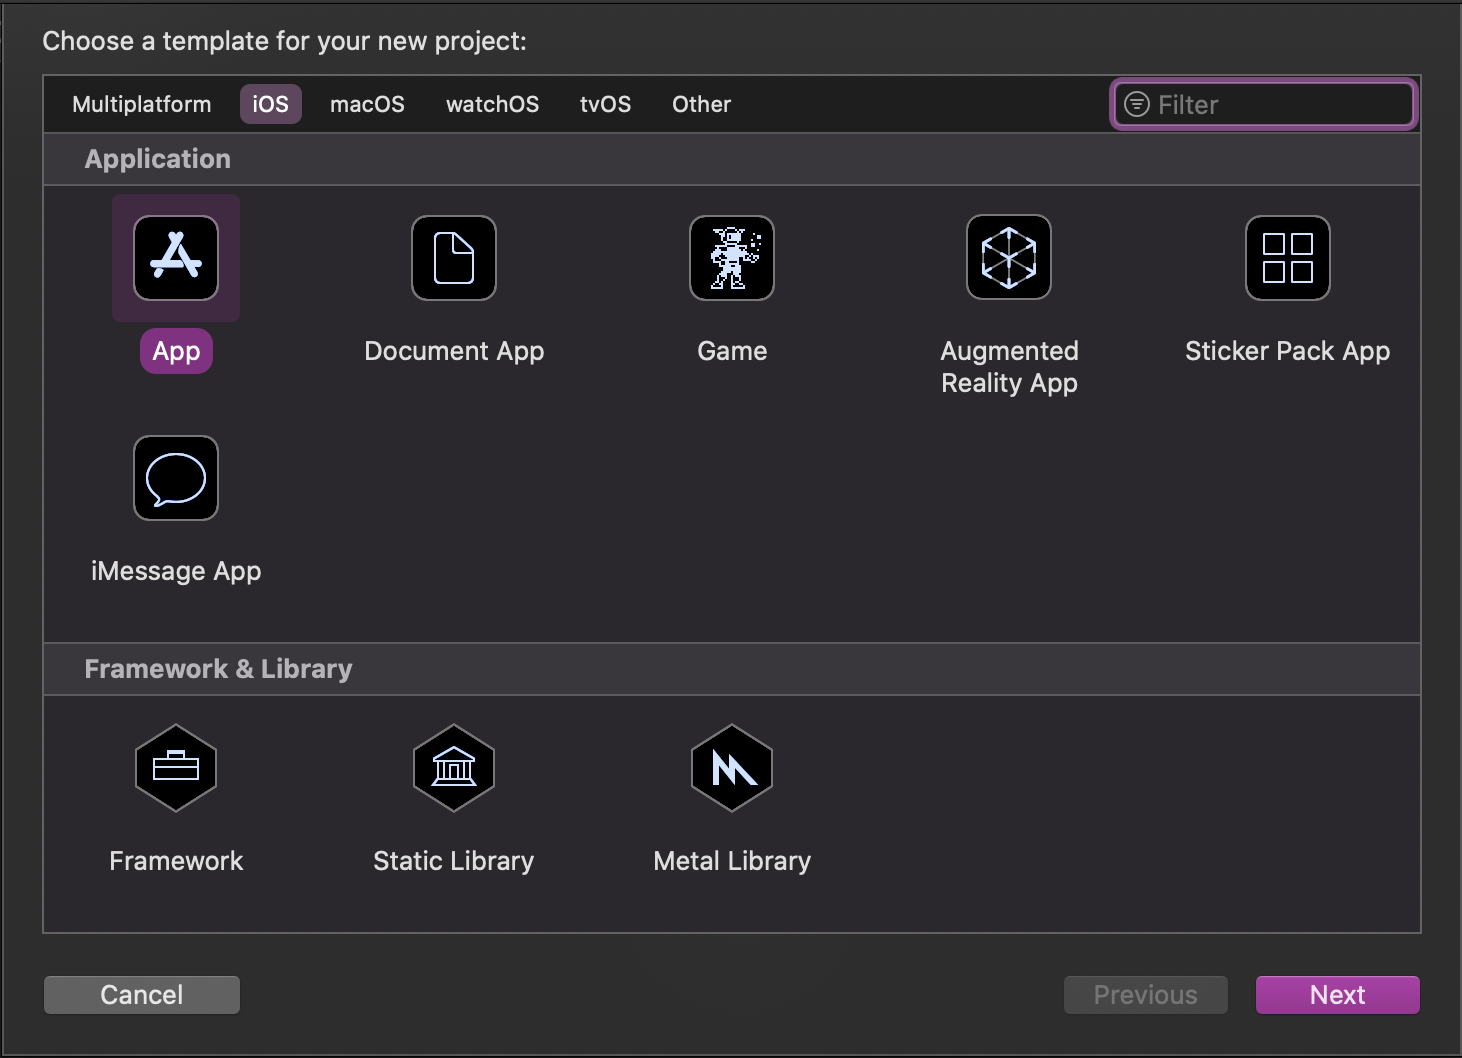
I'm going to be using the new SwiftUI App setup.

Now let's jump into the terminal and add our dependencies with Cocoapods.
pod initOpen the Podfile in your favorite editor and let's update the platform as well as the pods for Amplify Auth.
platform :ios, '14.0'

target 'Auth-Web-UI' do
  use_frameworks!

  pod 'Amplify'
  pod 'AmplifyPlugins/AWSCognitoAuthPlugin'

end
Now let's install the dependencies.
pod install --repo-updateNext, we need to initialize our Amplify project. I will be using all the default values provided by the CLI by pressing Enter to each question.
amplify init? Enter a name for the project `Enter`
? Enter a name for the environment `Enter`
? Choose your default editor: `Enter`
? Choose the type of app that you're building `Enter` (This should be ios)
? Do you want to use an AWS profile? `Enter`
? Please choose the profile you want to use `Enter`Note
If you are looking for a more guided approach to setting up your project with AWS Amplify, feel free to check here for a more in-depth tutorial.
Setting up the Auth category is next.
amplify add auth? Do you want to use the default authentication and security configuration?
> Default configuration with Social Provider (Federation)
? How do you want users to be able to sign in? `Enter` (Username)
? Do you want to configure advanced settings? `Enter`
? What domain name prefix do you want to use? `Enter`
? Enter your redirect signin URI: myapp://
? Do you want to add another redirect signin URI `Enter`
? Enter your redirect signout URI: myapp://
? Do you want to add another redirect signout URI: `Enter`
? Select the social providers you want to configure for your user pool: `Enter` (nothing selected)There are three important questions that are asked from above:
The first is regarding the auth and security configuration. We need to make sure that we are configured with Social Provider.
The other two are regarding the redirect URI. This is essentially asking where the web window should redirect the user once the user has signed in/signed out and we want to make sure that the user is directed back into the app properly. We also need to make sure we keep track of the URI provided to these questions as we will need to update our Info.plist with the same value later.
Now that Auth has been configured, let's push these changes to our backend.
amplify pushOnce our config has been sent to the cloud, open up the .xcworkspace and add amplifyconfiguration.json and awsconfiguration.json to your Xcode project.
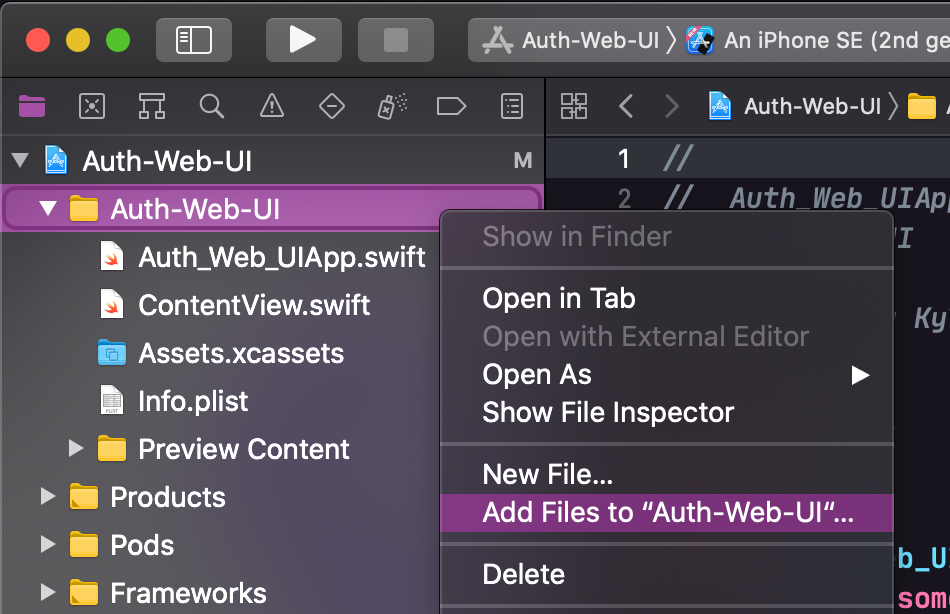
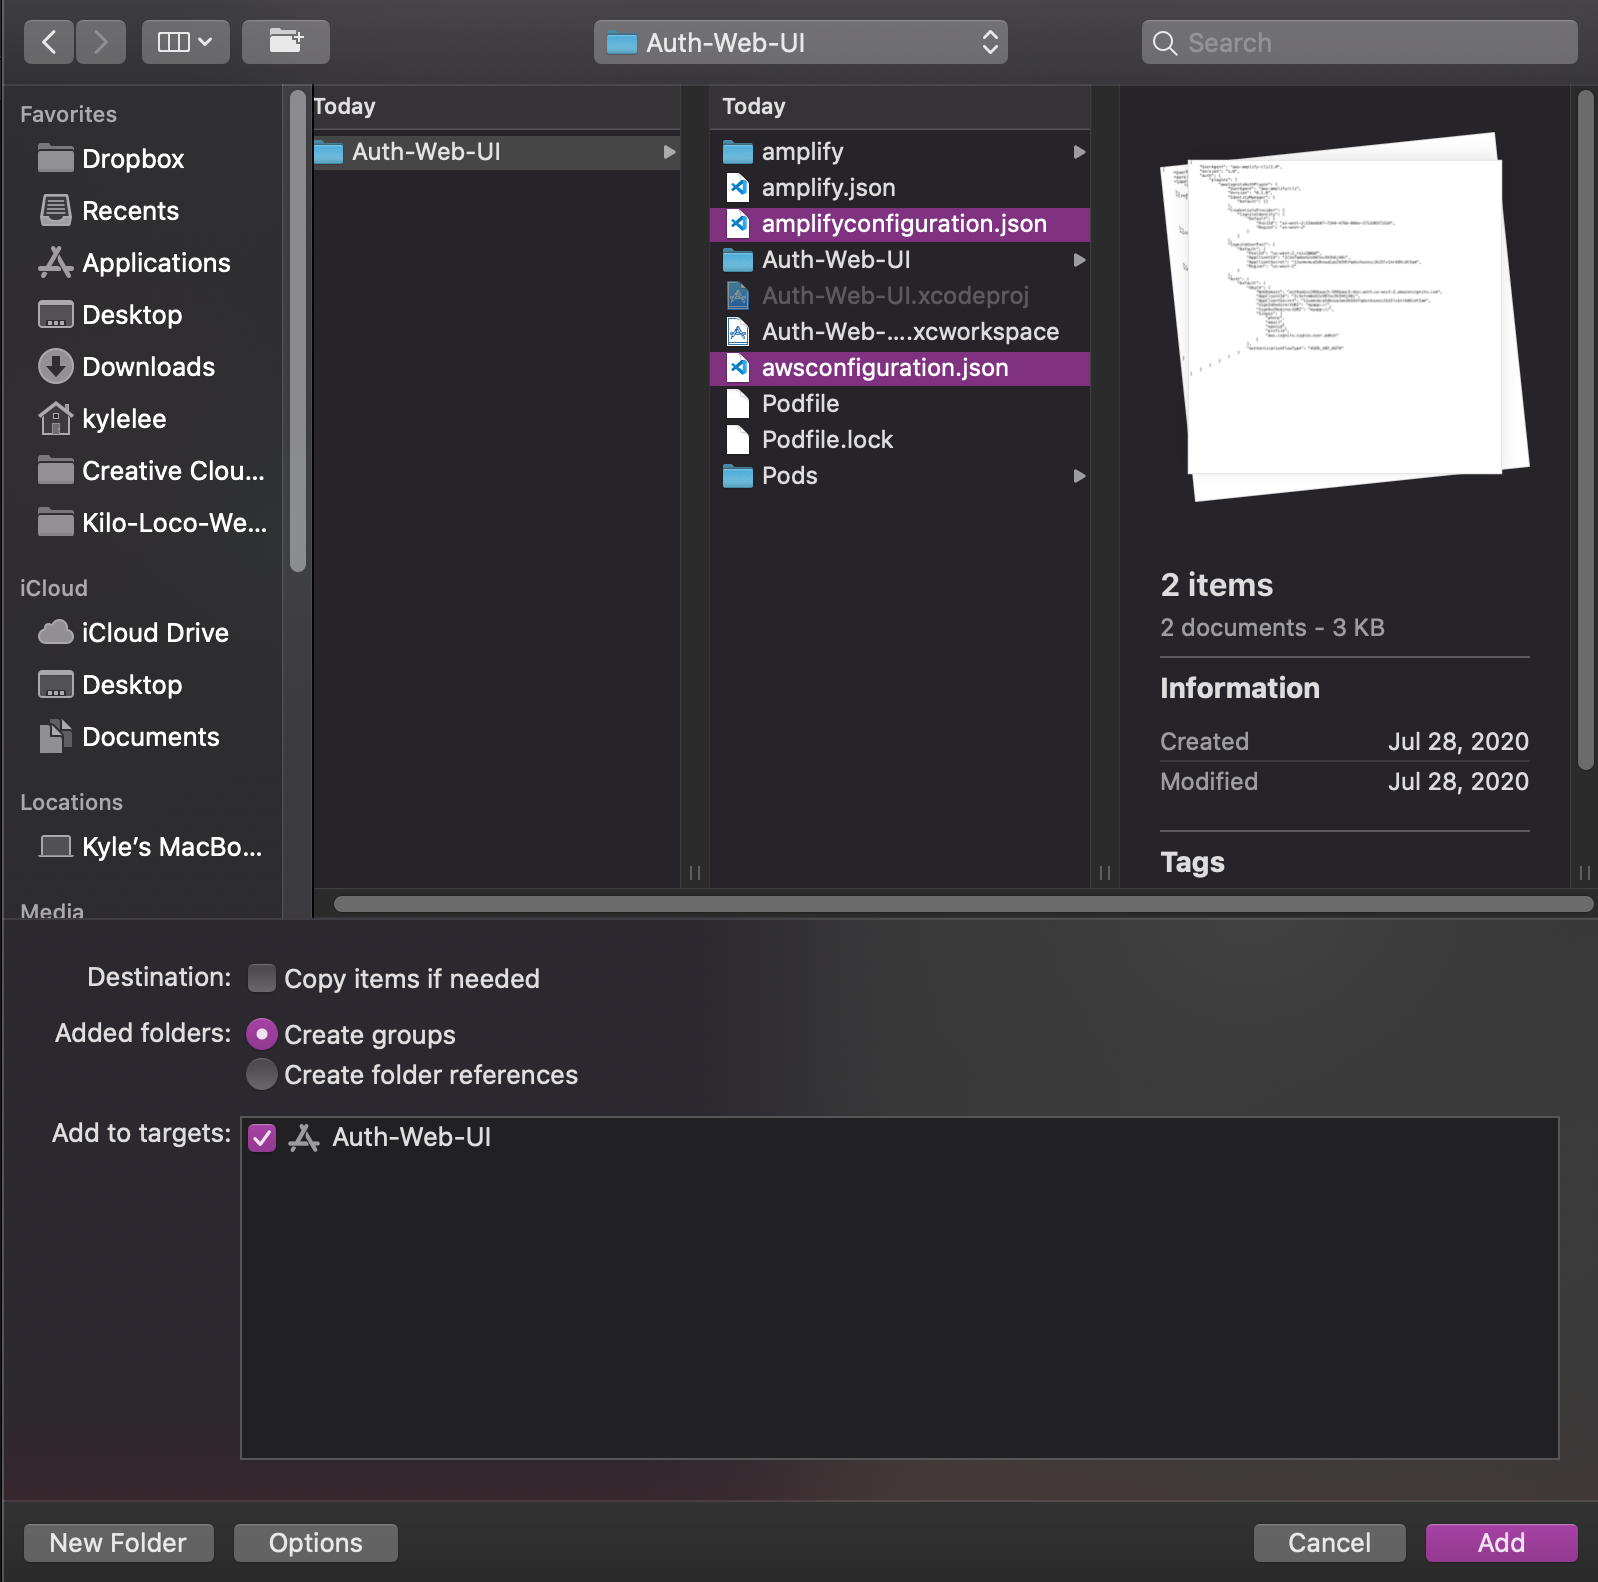
Make sure that "Copy items if needed" is deselected.
Now we are ready to configure Amplify inside of our app.
Since we are using the new SwiftUI App project, let's configure Amplify there.
Start by adding the import statements at the top of the file.
// *App.swift
import Amplify
import AmplifyPlugins
We will be encasulating our Amplify configuration into a single method.
func configureAmplify() {
    do {
        try Amplify.add(plugin: AWSCognitoAuthPlugin())
        try Amplify.configure()
        print("Amplify configured")

    } catch {
        print("Could not initialize Amplify -", error)
    }
}
Now let's just make sure we call configureAmplify(). (I wanted to remind you because I always forget to call my functions 😅)
init() {
    configureAmplify()
}
💥 BOOM! Configured!
View Setup
There are a few views that we should put into place before we actually start adding our Auth code; the SignInView and the SessionView. Let's add those real quick.
// SignInView.swift
struct SignInView: View {
    var body: some View {
        Button("Sign In", action: {})
            .padding()
            .background(Color.purple)
            .foregroundColor(.white)
            .cornerRadius(3)
    }
}

// SessionView.swift
struct SessionView: View {
    var body: some View {
        VStack {
            Spacer()
            Text("You have signed in")
            Spacer()
            Button("Sign Out", action: {})
        }
    }
}
The UI we have here is kinda boring so feel free to update these views as you see fit. The most important thing here is that there is a way to trigger the sign in and sign out functionality once we add it.
Setting Up The Auth Functionality
Before we jump into coding the Auth functionality, let's make sure we add the name of our URI to our Info.plist.
The easiest way to do this is to open Info.plist as source code (Right click Info.plist > Open As > Source Code), then paste the following code at the bottom of the file, but still within the closing </dict> tag.
... // Other plist entries 👆🏽

<key>CFBundleURLTypes</key>
<array>
    <dict>
        <key>CFBundleURLSchemes</key>
        <array>
            <string>myapp</string>
        </array>
    </dict>
</array>

... // </dict>
Of course you'll want to replace "myapp" with whatever you entered into the CLI (excluding the ://) when it asked for a URI.
Now we can actually start writing code 👨🏽💻
All the logic for Auth will be managed by a single object: AuthService. This object will be able to manage the session state (whether the user is signed in or not) and will interact with the Amplify Auth APIs directly.
Note
Best practice would be to implement a protocol that can be used in place of the concreteAuthService, but in the interest of simplicity, we will be using theAuthServiceitself.
import Amplify
import Foundation

class AuthService: ObservableObject {
    @Published var isSignedIn = false
}
isSignedIn will act as our session state. We want to be able to observe whenever this value changes, so we need to mark the property with @Published and make sure AuthService conforms to ObservableObject.
Let's add our first method, which will determine whether the user is already signed in or not.
... // @Published var isSignedIn = false

func checkSessionStatus() {
    _ = Amplify.Auth.fetchAuthSession { [weak self] result in
        switch result {
        case .success(let session):
            DispatchQueue.main.async {
                self?.isSignedIn = session.isSignedIn
            }

        case .failure(let error):
            print(error)
        }
    }
}

... // AuthService closing }
As you can see, Amplify.Auth.fetchAuthSession takes in a closure that provides a result object that we can switch on. Assuming that we get a success case, we are then provided an Amplify.AuthSession object which has a computed property telling us whether the user is signed in. We simply set AuthService.isSignedIn to the value of the AuthSession object and ensure that the change happens on the main thread since this property will directly update our view.
Head back over to the App object so we can start implementing the first piece of functionality from AuthService.
Add an instance of the AuthService to the App object as an @ObservedObject property.
... // struct MyApp: App {

@ObservedObject var auth = AuthService()

... // init() {
Now we can set up an if statement in the body to determine which View we should show; the SignInView or SessionView.
... // WindowGroup {

if auth.isSignedIn {
    SessionView()
        .environmentObject(auth)
} else {
    SignInView()
        .environmentObject(auth)
}

... // WindowGroup closing }
}
Now to simply call checkSessionStatus() in our init method.
... // configureAmplify()

auth.checkSessionStatus()

... // init closing }
Give the app a run and you should see your SignInView
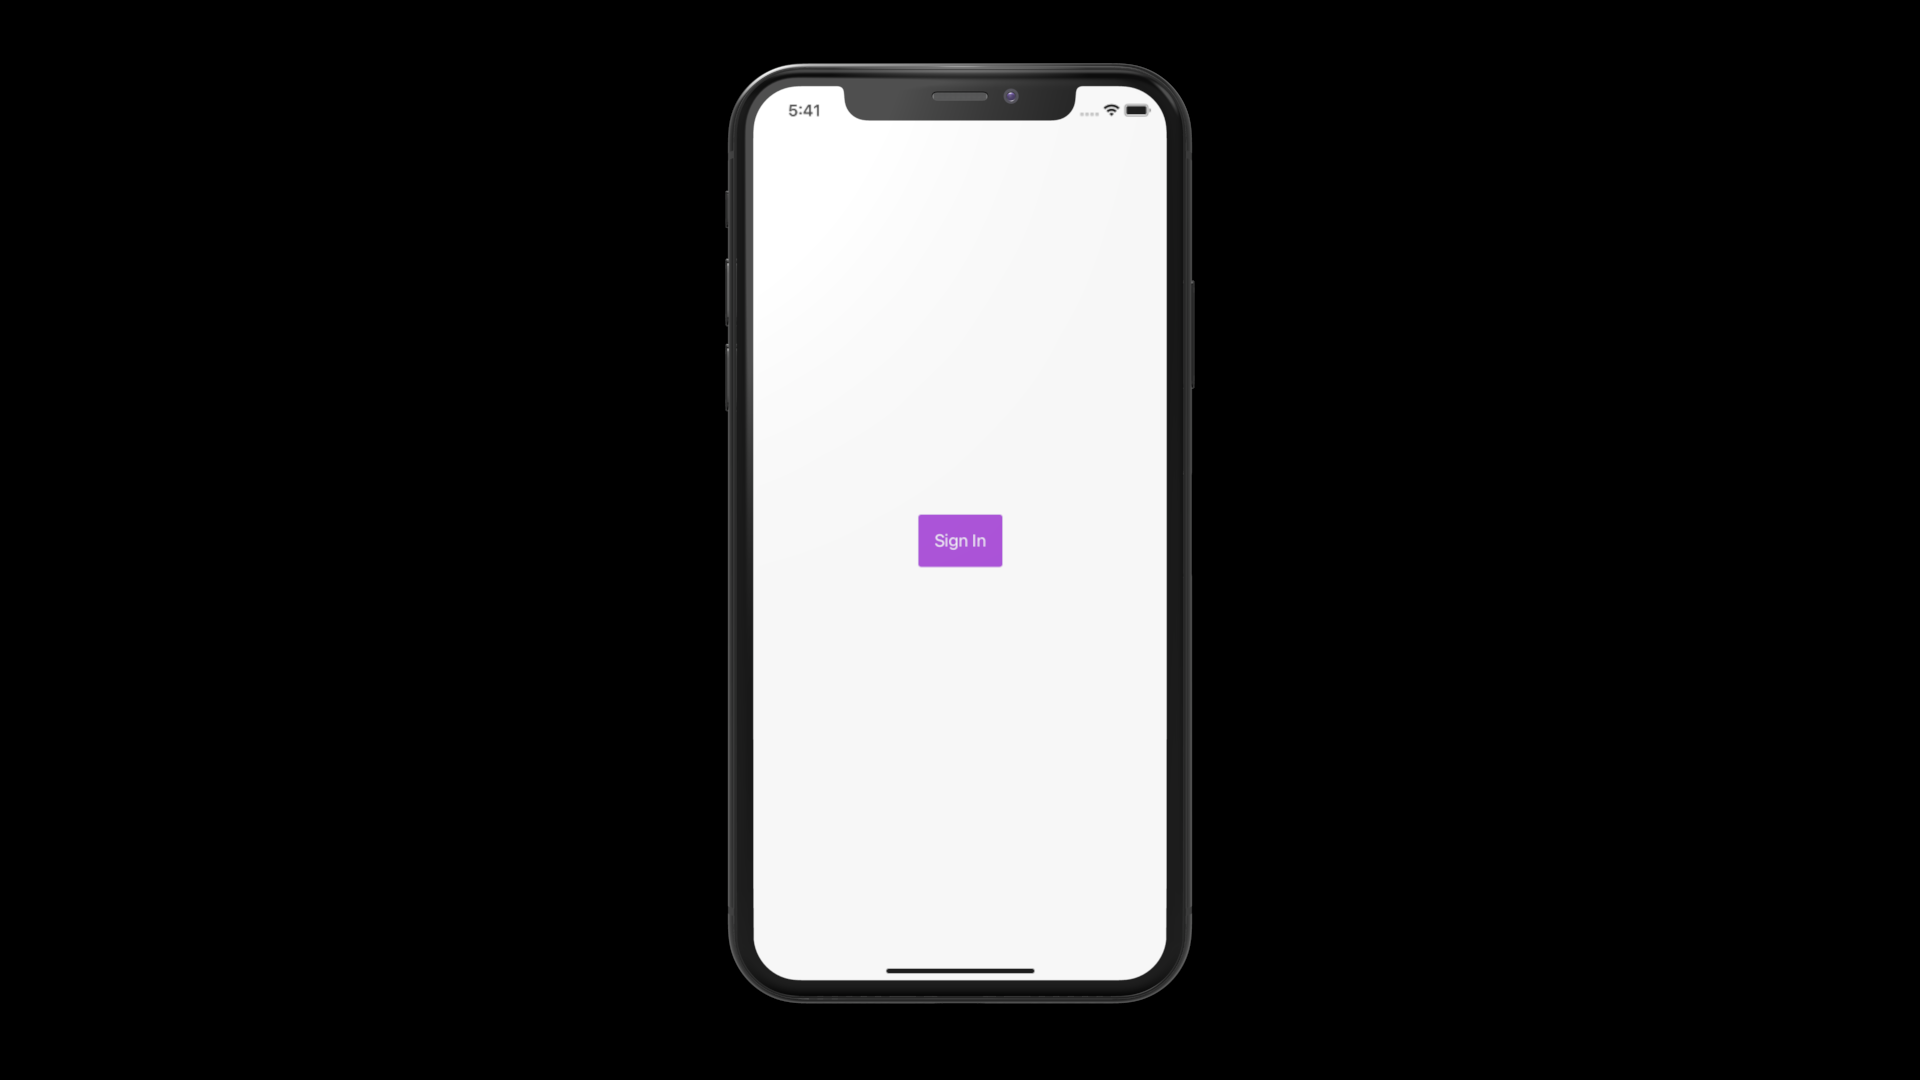
AWWW YEEAH!
Alright, that's cool and all, but let's do the job we came here for; signing in a user.
Go back to AuthService and add the following code:
... // checkAuthSession closing }

private var window: UIWindow {
    guard
        let scene = UIApplication.shared.connectedScenes.first,
        let windowSceneDelegate = scene.delegate as? UIWindowSceneDelegate,
        let window = windowSceneDelegate.window as? UIWindow
    else { return UIWindow() }

    return window
}

func webSignIn() {
    _ = Amplify.Auth.signInWithWebUI(presentationAnchor: window) { result in
        switch result {
        case .success:
            print("Signed in")

        case .failure(let error):
            print(error)
        }
    }
}

... // AuthService closing }
signInWithWebUI requires a presentation anchor in which it can show the web UI of the sign in flow, as well as redirect the user back into the native app. This is why we are accessing the window from the window scene delegate.
Once the user goes through the process of signing up or signing in, we should get a success case for our result. It's also important that we pay attention to the fact that we are not updating the isSignedIn property in this result. Instead of updating the session state here, we will have an observer manage these events for us.
... // webSignIn closing }

func observeAuthEvents() {
    _ = Amplify.Hub.listen(to: .auth) { [weak self] result in
        switch result.eventName {
        case HubPayload.EventName.Auth.signedIn:
            DispatchQueue.main.async {
                self?.isSignedIn = true
            }

        case HubPayload.EventName.Auth.signedOut,
             HubPayload.EventName.Auth.sessionExpired:
            DispatchQueue.main.async {
                self?.isSignedIn = false
            }

        default:
            break
        }
    }
}

... // AuthService closing }
Amplify.Hub is an object that allows us to observe/listen to changes in our different categories. In our case, we are simply specifying that we want to listen to HubChannel.auth. This will provide us with a result every time there is an Auth event.
So in an effort to observe the events that we're actually interested in, we'll use a switch statement; signing the user in for Auth.signedIn events and signing the user out during Auth.signedOut and Auth.sessionExpired events. All this AND we need to make sure that any changes to the isSignedIn property are on the main thread since UI is involved.
Let's make sure we include a call to observeAuthEvents in our App initializer.
... // auth.checkSessionStatus()

auth.observeAuthEvents()

... // init closing }
With the Hub in place, we are finally ready to sign in. Let's jump to our SignInView so we can put the AuthService to good use.
First thing's first, let's access our AuthService instance as an @EnvironmentObject since we are passing it as such from the App object.
... // struct SignInView: View {

@EnvironmentObject var auth: AuthService

... // var body: some View {
Now we can use webSignIn as the action for our Button.
... // var body: some View {

Button("Sign In", action: auth.webSignIn)

... // padding()
Perfect! Let's run the app, and see if we can sign up.

Daaaym! That's pretty slick! ✨
ALSO, restart the simulator. We should still be signed in.
DAAAAYYM!! Auto sign in too?! That's hot! 🔥
Alright, alright, calm down! We still have to sign out. Let's navigate back to AuthService and add that in too.
... // webSignIn closing }

func signOut() {
    _ = Amplify.Auth.signOut { result in
        switch result {
        case .success:
            print("Signed out")

        case .failure(let error):
            print(error)
        }
    }
}

... // AuthService closing }
Super similar to webSignIn, we call signOut and get a straightforward result. Once again, we aren't going to manage the state directly from here since Hub is already chillin, watching for the Auth.signOut event.
Let's put this method to work in SessionView.
... // struct SessionView: View {

@EnvironmentObject var auth: AuthService

... // var body: some View {
Ok, so AuthService is available as a @EnvironmentObject again, no surprise there. Now simply call signOut.
... // Spacer()

Button("Sign Out", action: auth.signOut)

... // VStack closing }
1, 2, 3, GO!
OHHHH!!! It worked!!
We're gooood!
And that's pretty much it. We were able to avoid dealing with creating 3 different screens where we would have to manage all these state changes ourselves and were able to keep everything well organized and clean!
Looks like you're ready to start getting some authenticated users into your app. Let me know what you end up building.
Now go out there, and keep coding passionately!